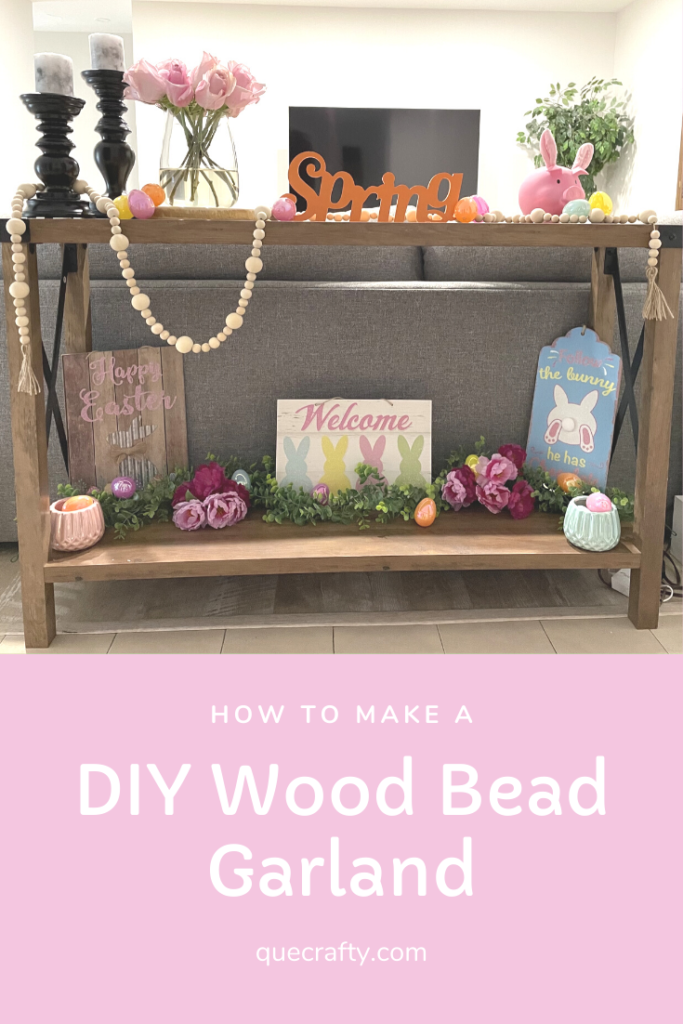
I’ve been seeing these really cool wood bead garlands all over lately. But I also noticed how expensive they are. I wasn’t willing to pay $40 for a wood bead garland. They’re sometimes on sale at Michael’s or Hobby Lobby, but you have to catch it at the right time and they’re still about $20 or $25 each.
I was thinking “OMG they’re so pretty and they will look so good with all my holiday and seasonal decorations.”
So I decided to do a little research on supplies and make one myself!It was super easy to make and took me about 20 minutes.
I went straight to Amazon, because we all know thats the best place to shop, and I started gathering my supplies. I knew I wanted the garland to have different sized beads so I went on my search.
I chose 30mm, 20mm and 16mm beads. I also purchased some jute twine to string my beads.
Of course no craft project comes without unexpected supplies, and thats why you see a tape dispenser in the picture below, but I’ll get into that later in this post.
I know I wanted to make a 7ft garland so that I can use it on my console table. So I measured my Jute Twine at 90 inches. That’s a little bit over 7ft, but it gives me room for error.
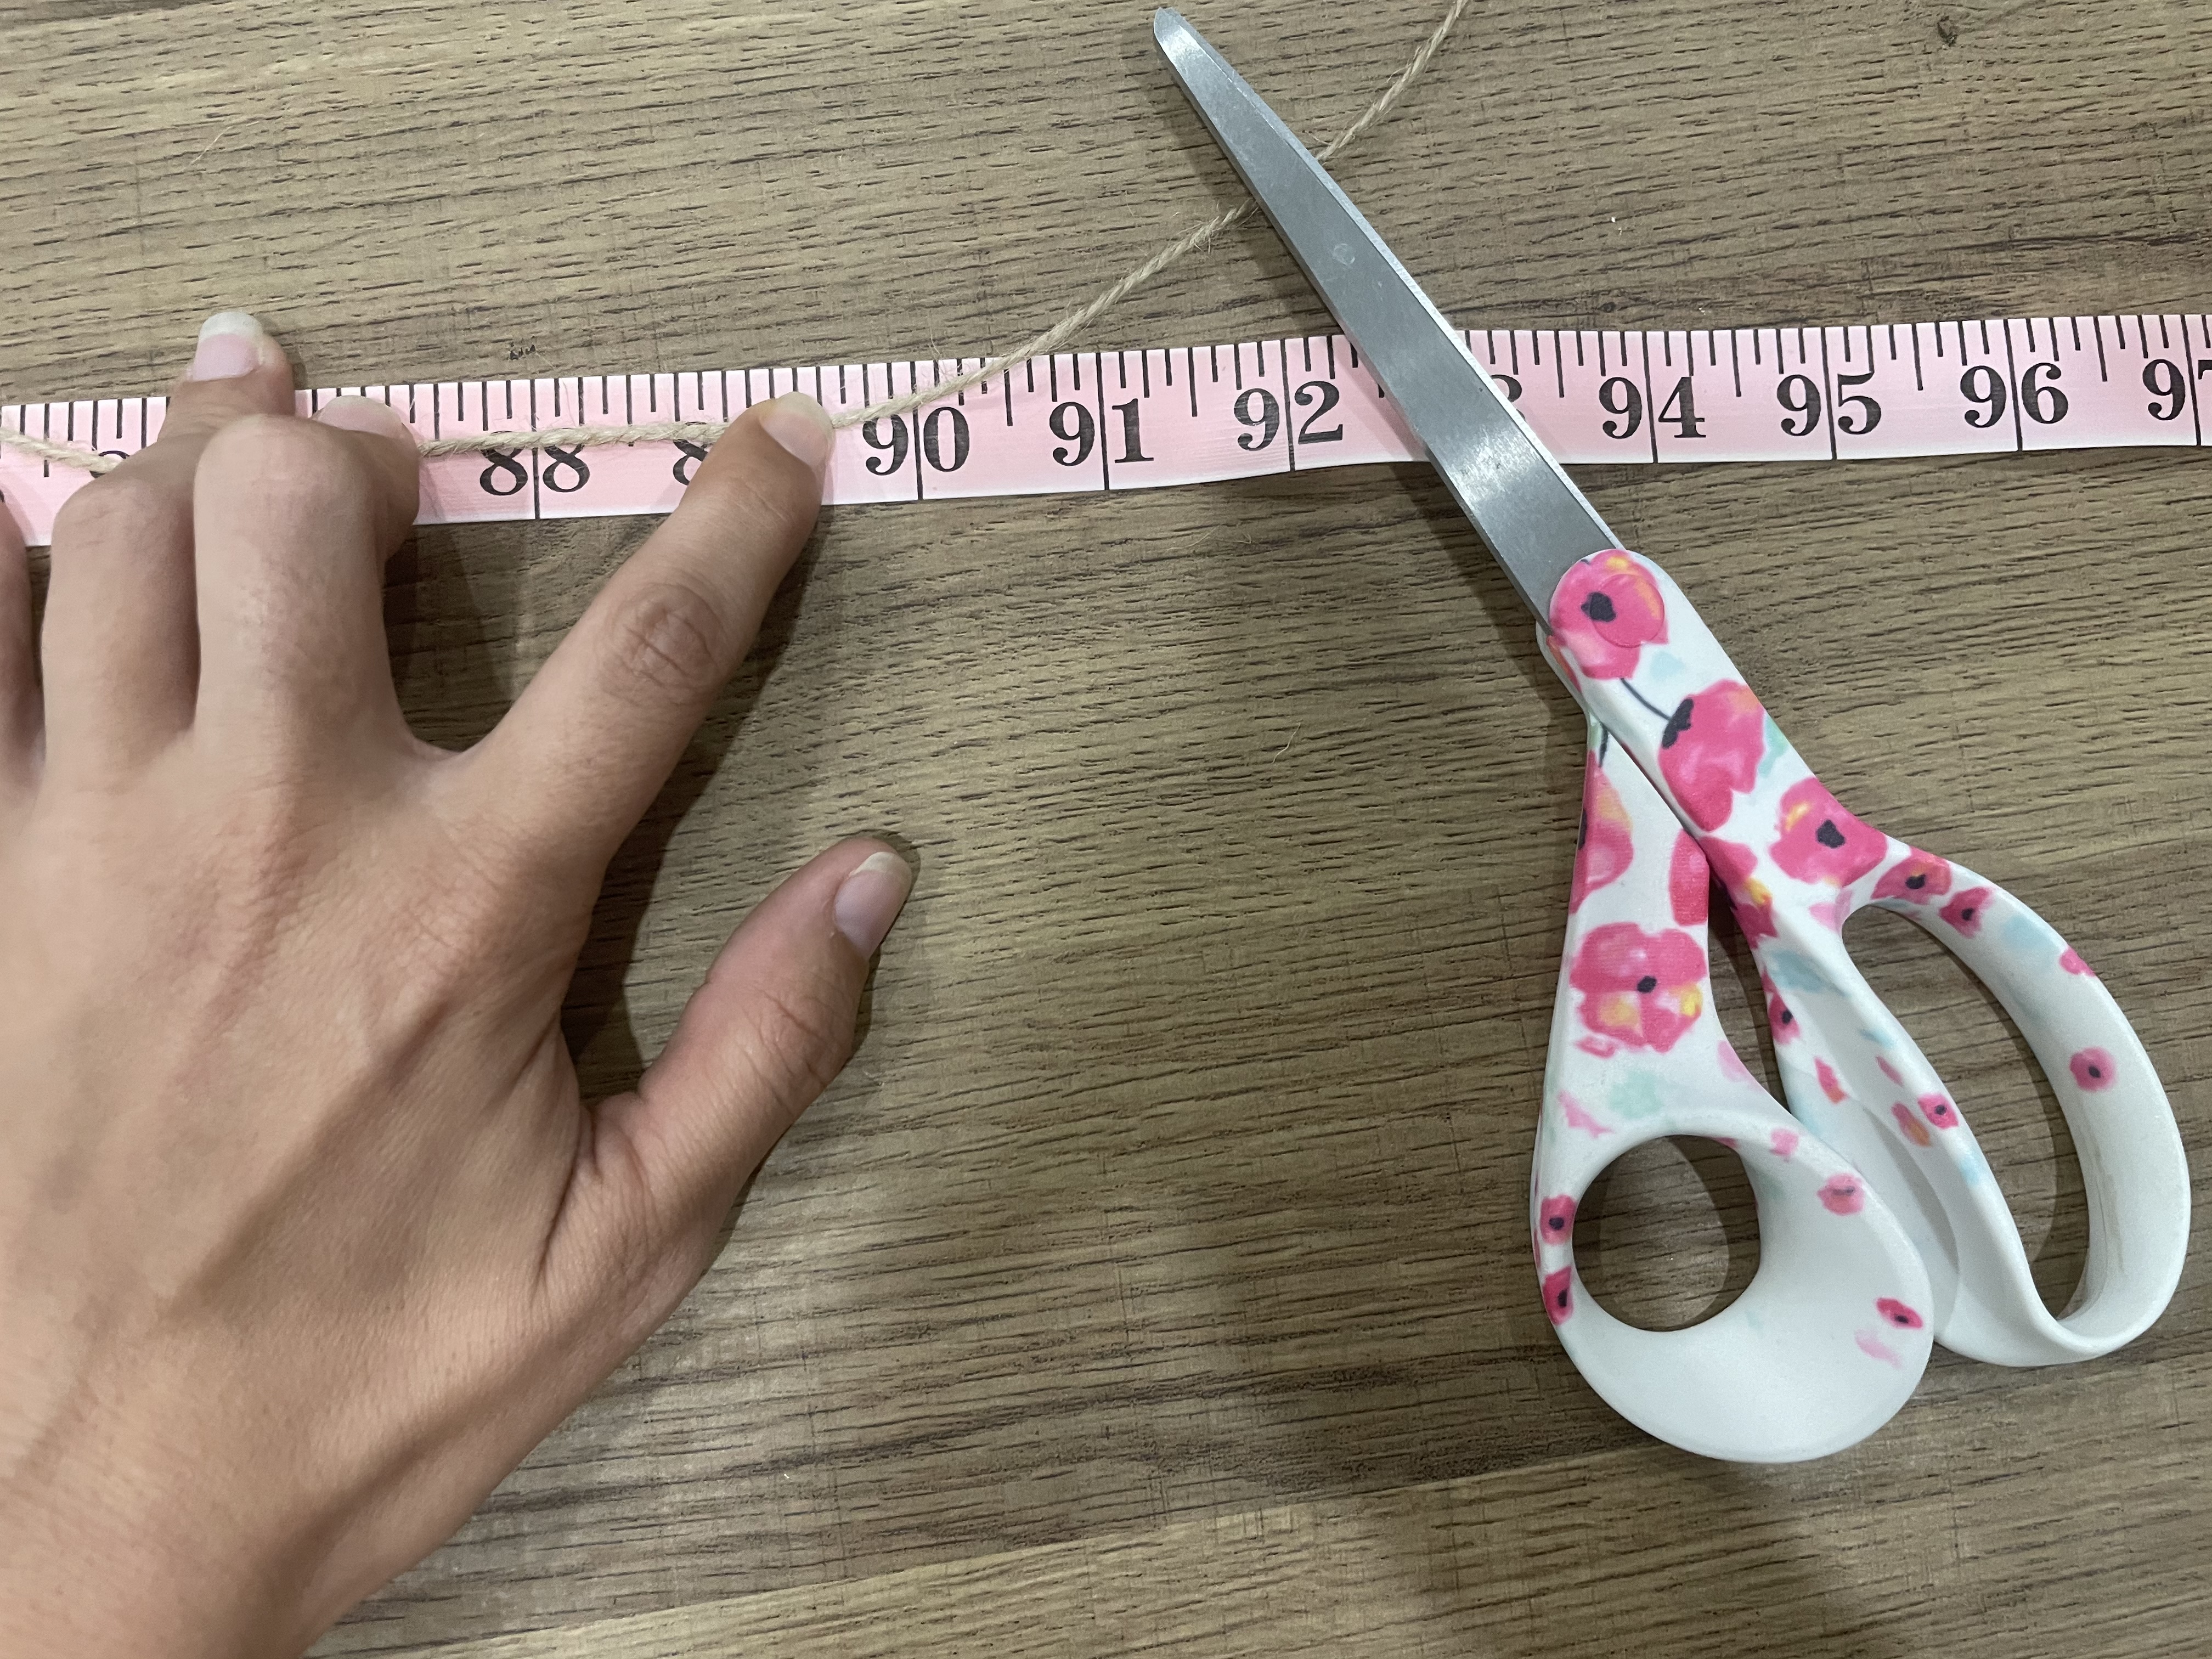
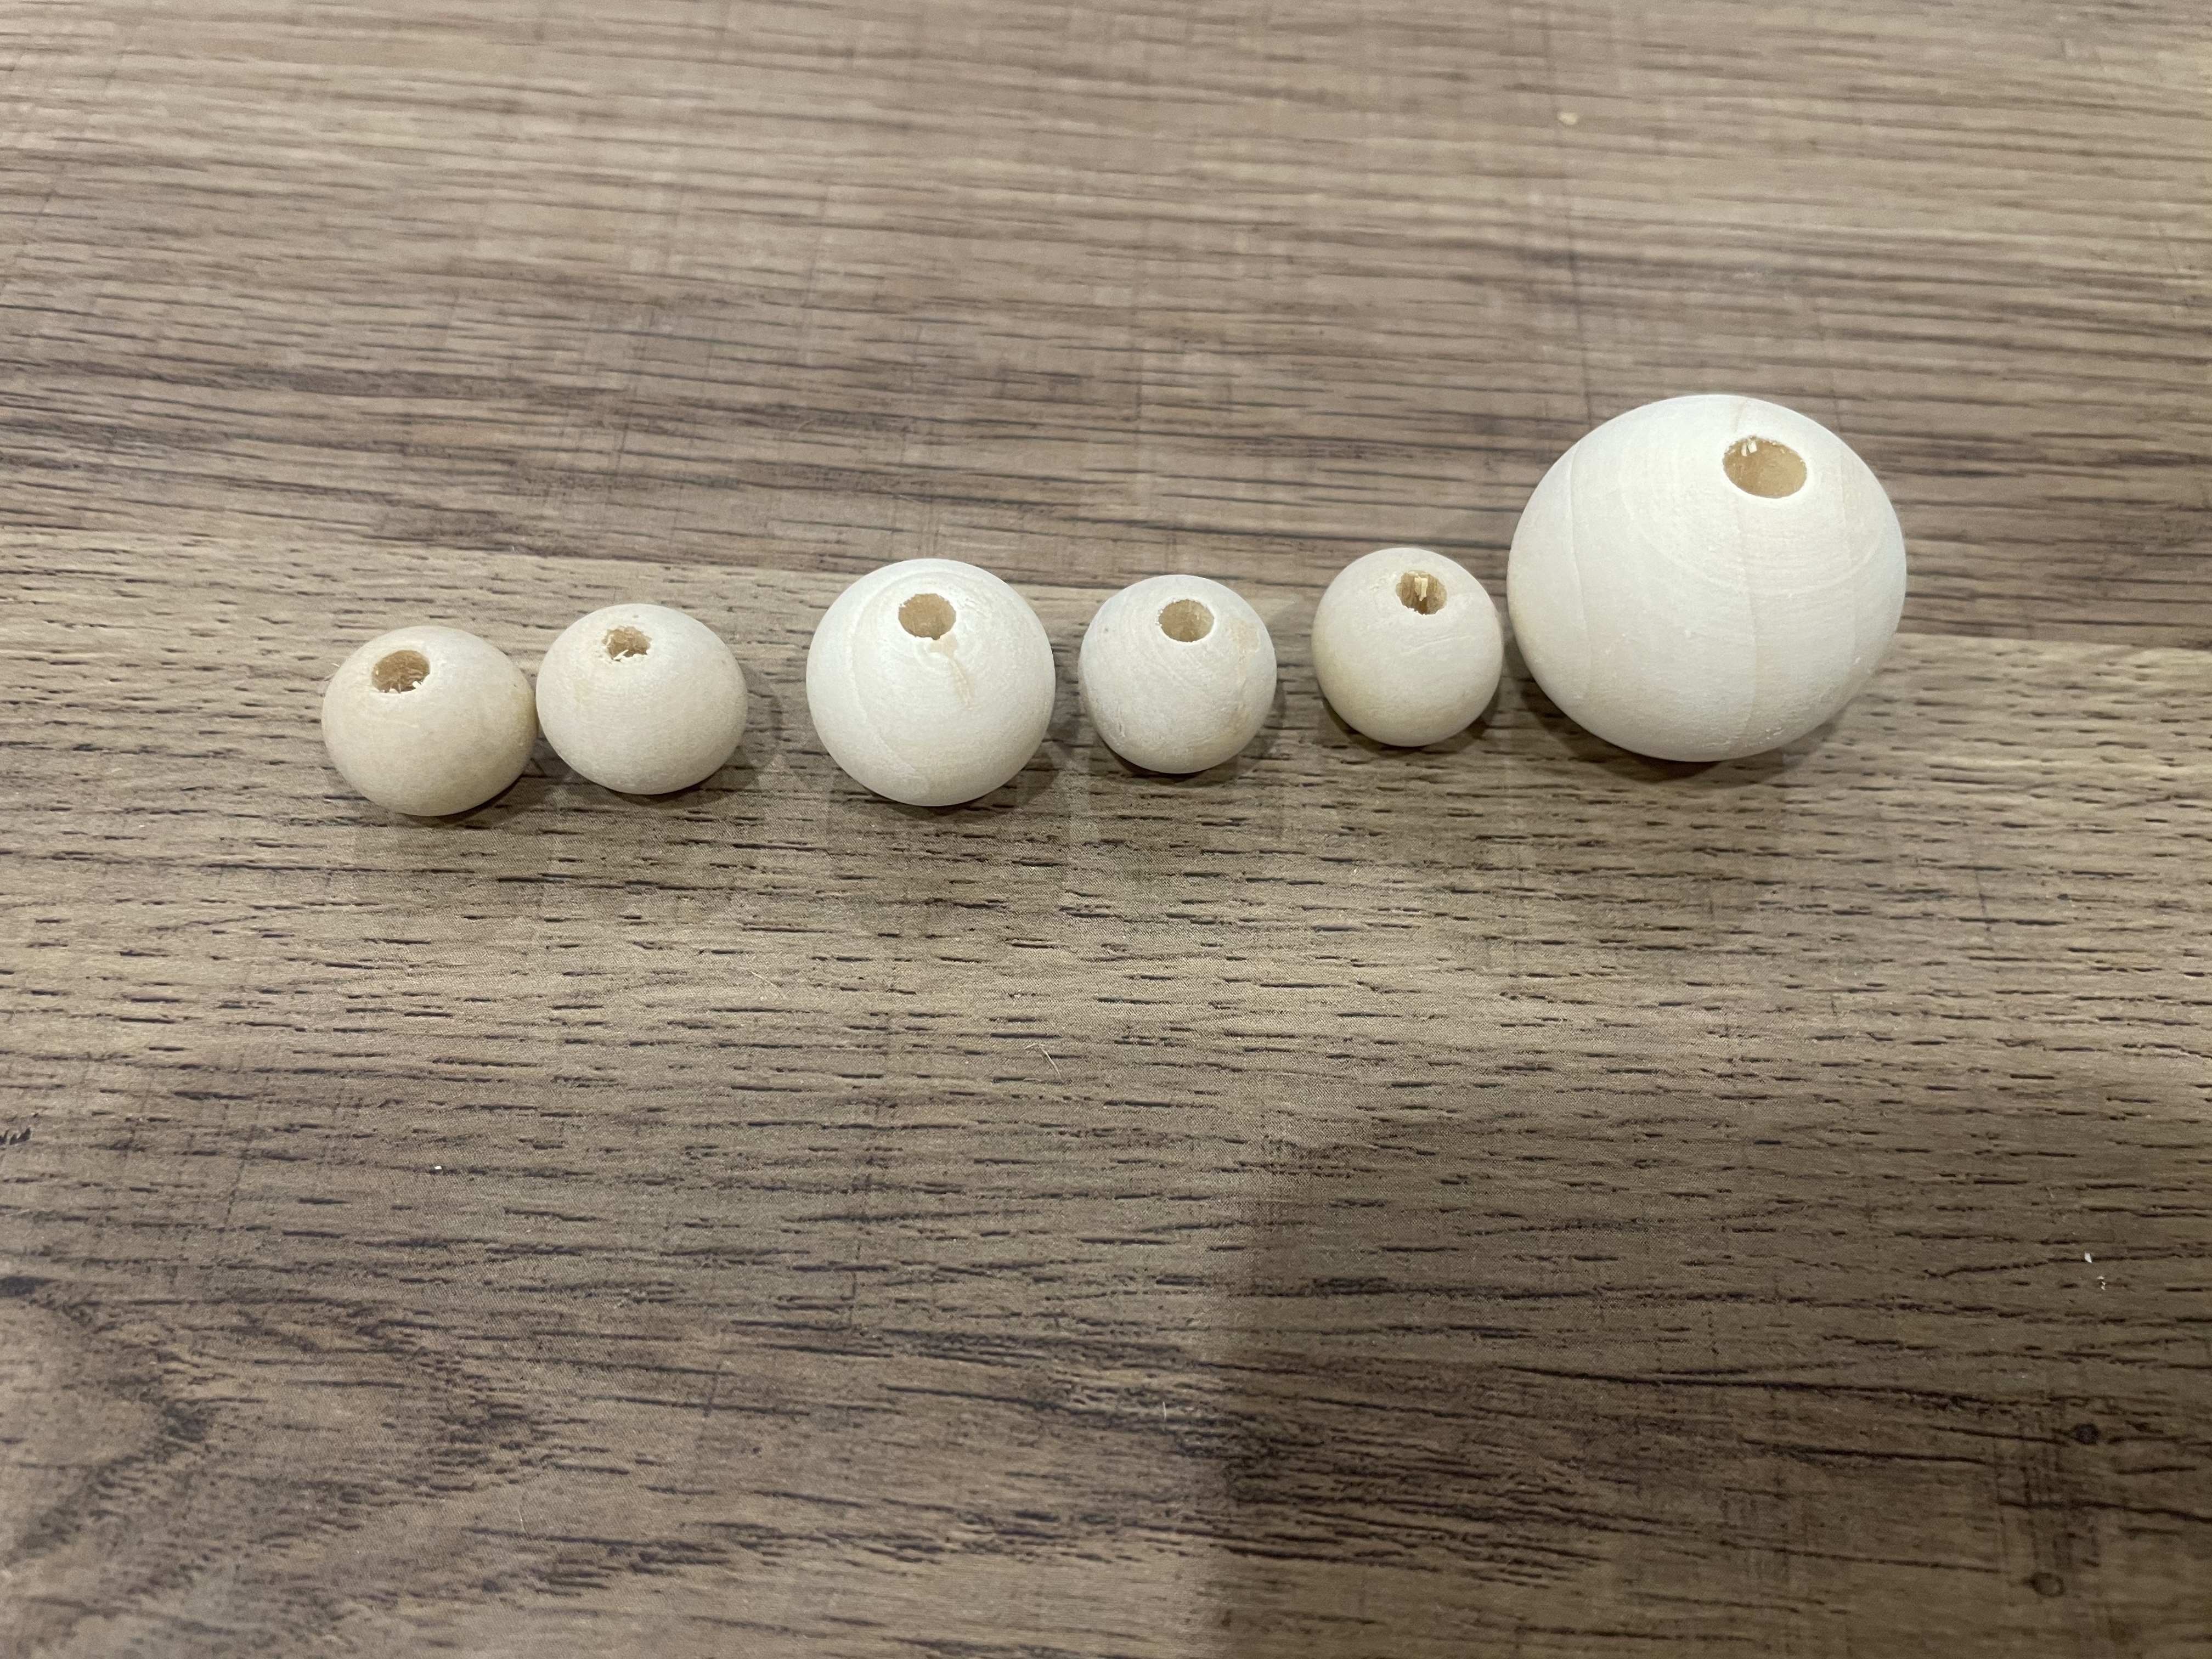
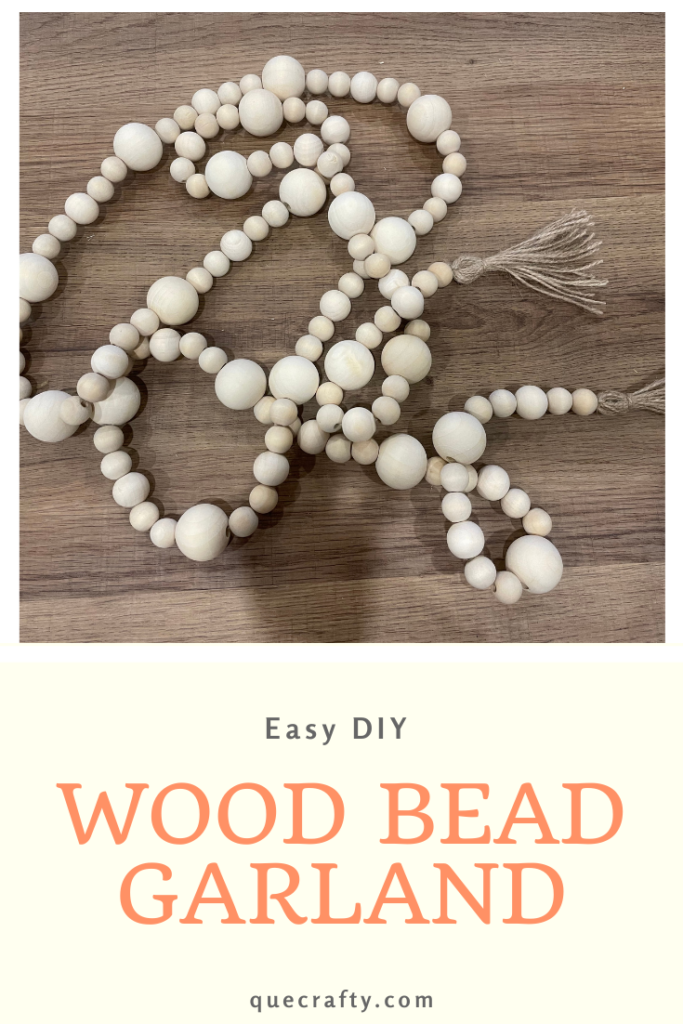
After measuring my twine, I established a pattern that I like. I did two 16mm bead, one 20mm, two 16mm and one 30mm.
This pattern gives the garland different dimension and it makes it looks “professionally made.”
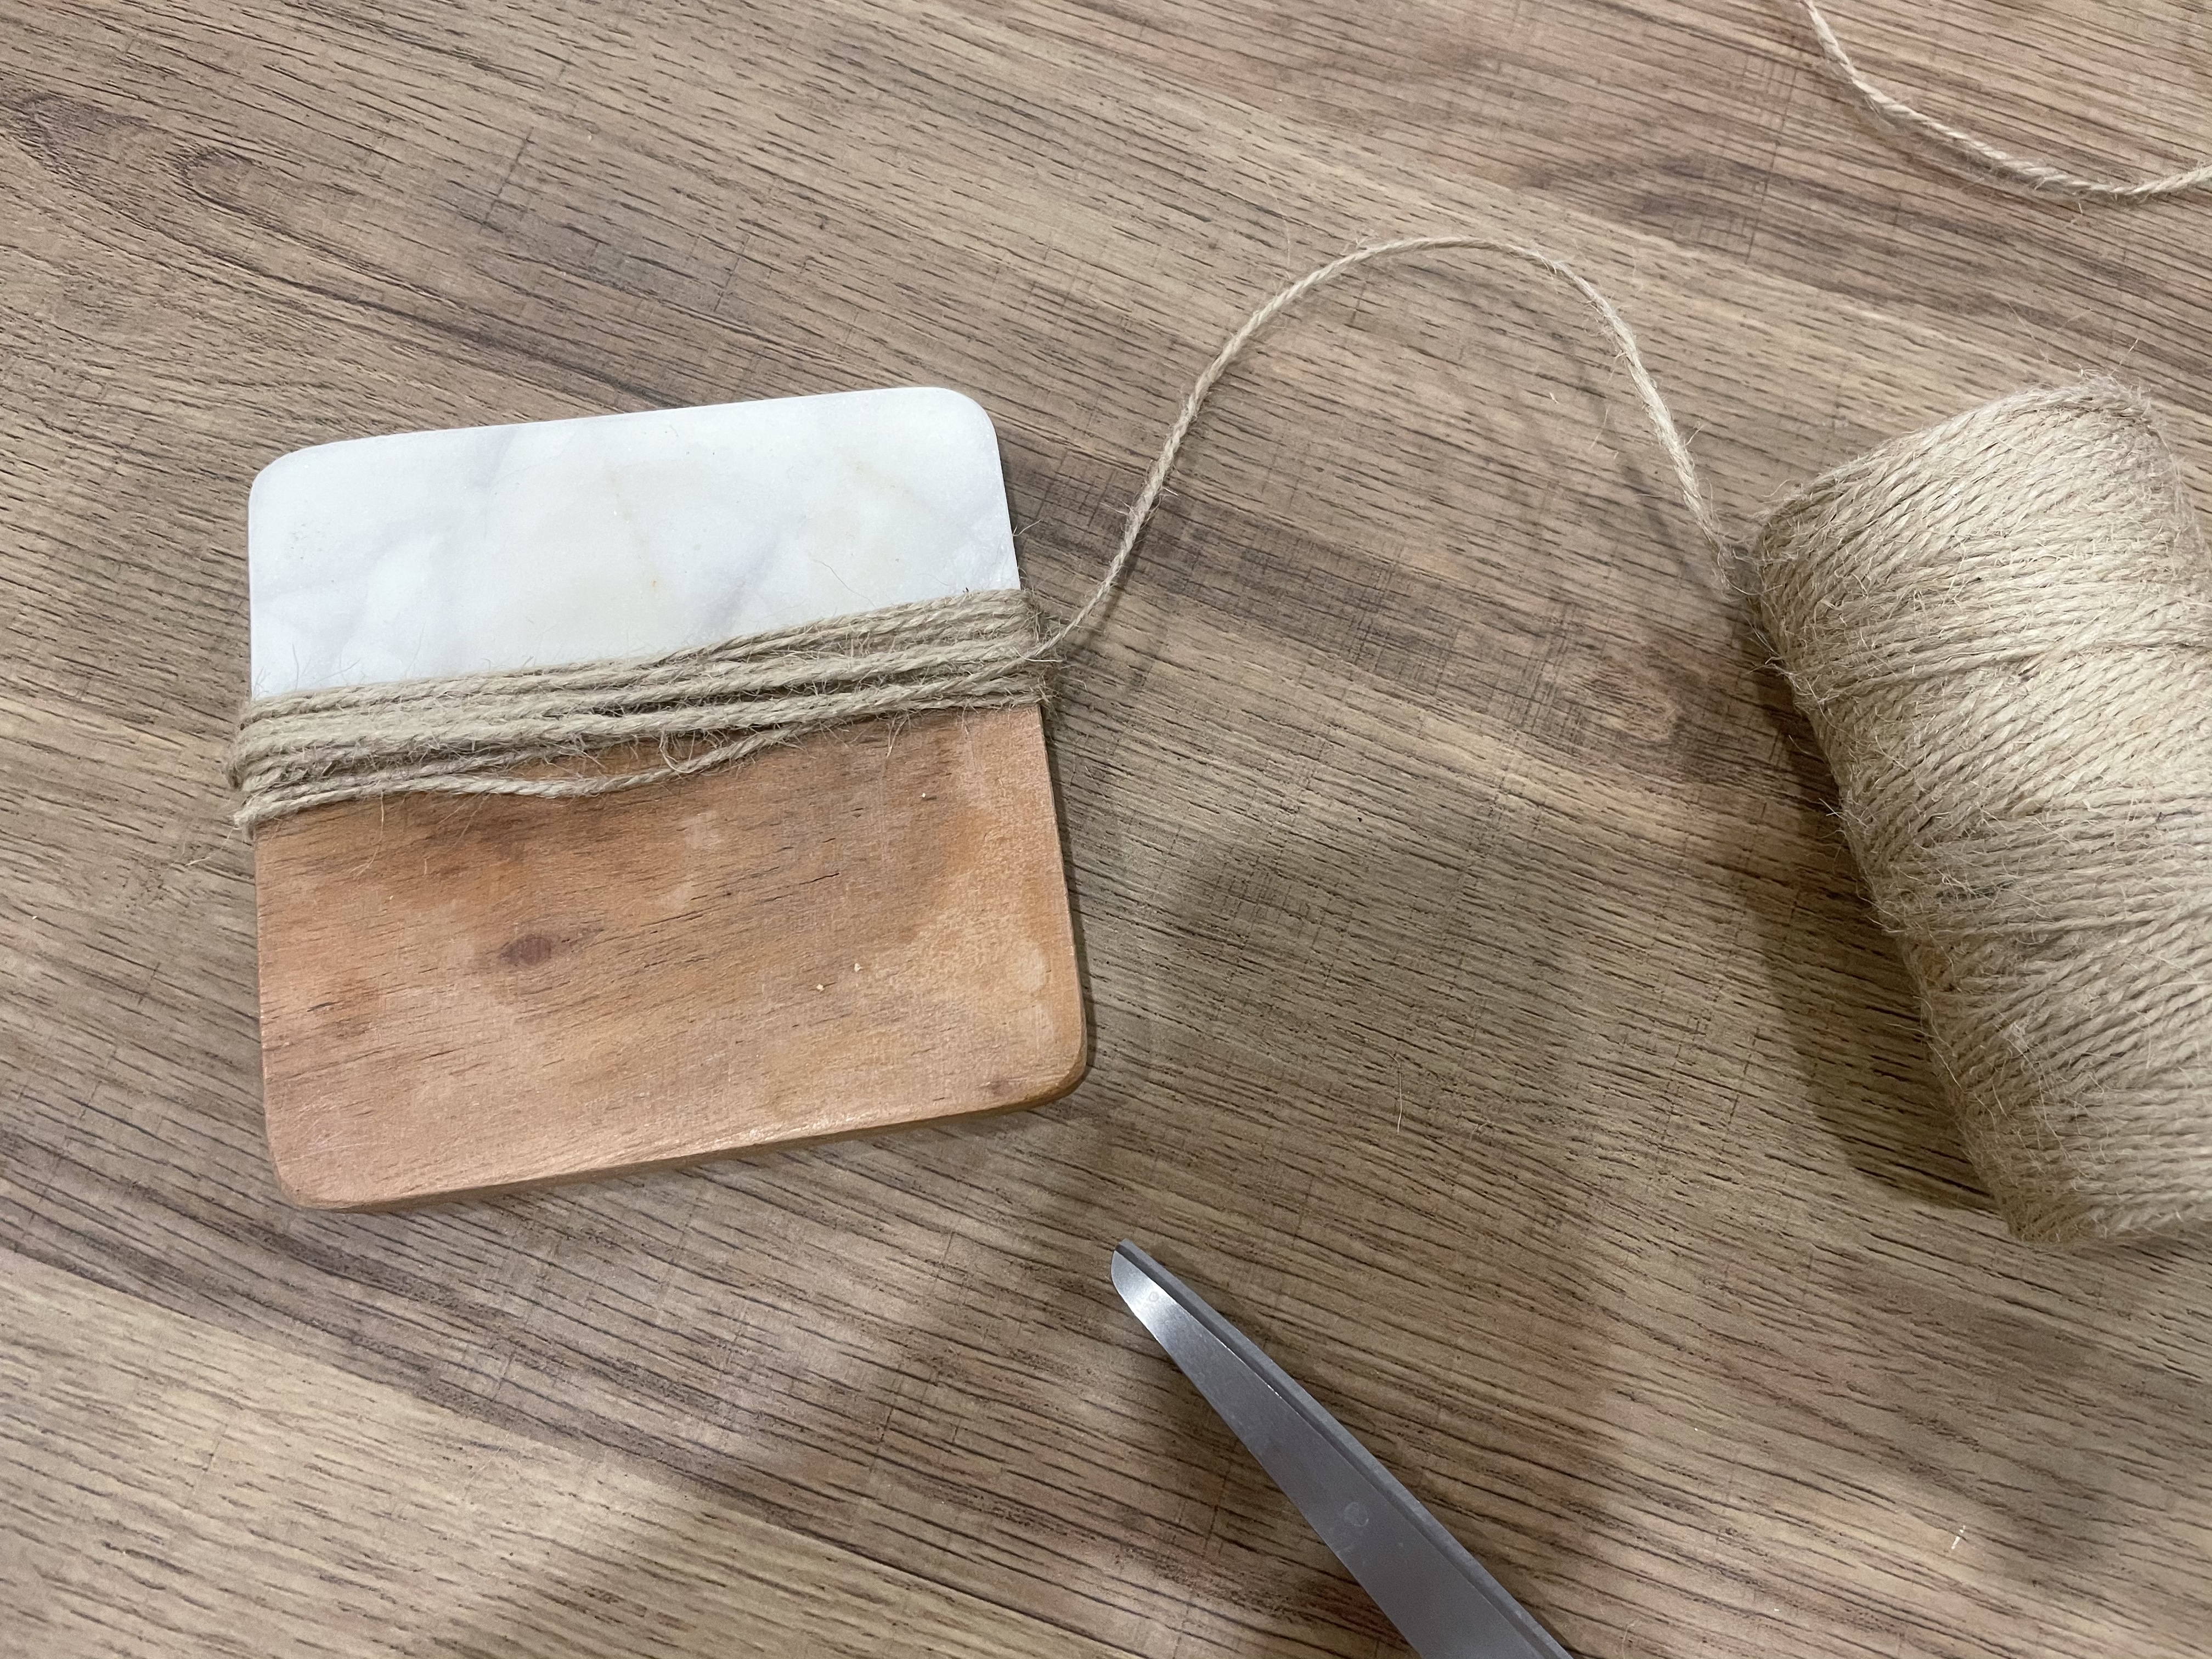
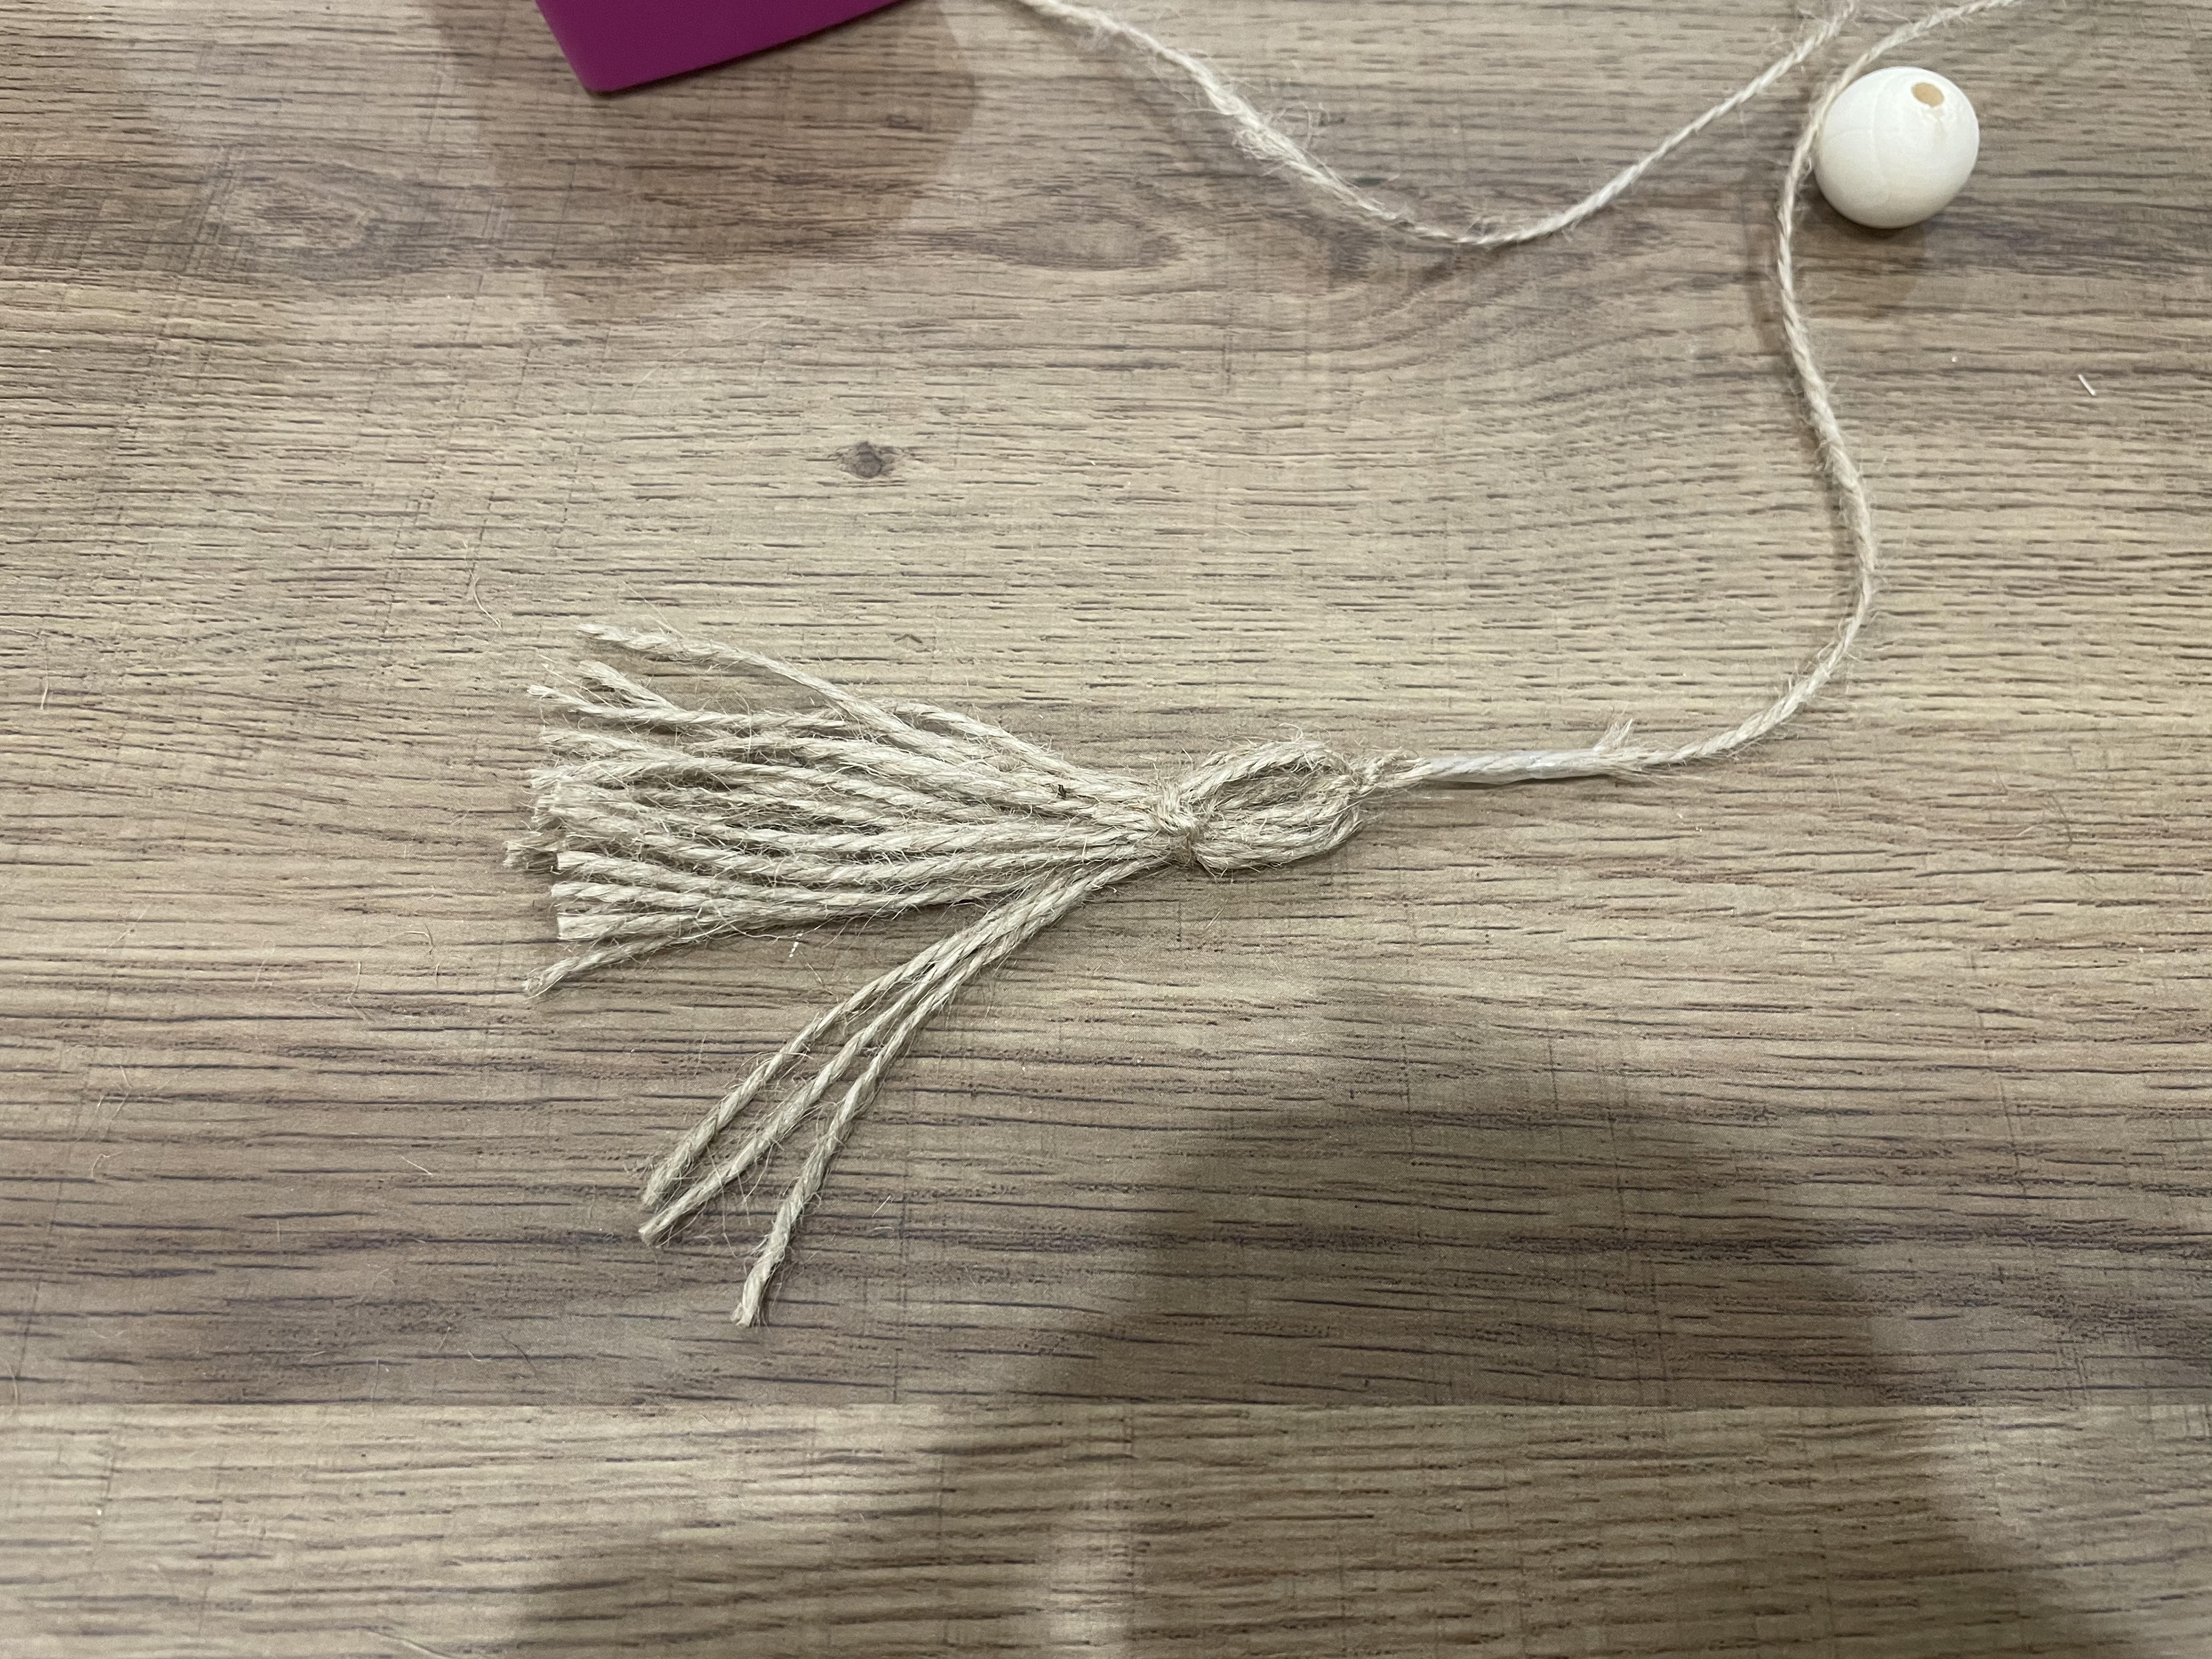
Now that I had my pattern, I went on to make my tassels for the ends of the garland. I grabbed a trusty coaster that I had on my coffee table and wrapped my twine around it about 15 or 20 times. How many times you wrap your twine is up to you, the more your wrap the fluffier your tassel will be. I took my twine loops off of my coaster and cut both looped ends. That left me with a bunch of little strips of twine, I then folded them over to make my tassel shape, I ties a small piece of twine around to make a small head, and voila a tassel.
So to start my garland, I tied one end of the 90 inch piece of string to the head of my tassel. That way my beads wouldn’t fall right out. Then comes the easy part, well after some adjustments it became the easy part.
In order to get my twine through my beads I had to tape the end to make a hard end, like if it was a needle. Thats why my supplies had a tape dispenser, I totally should have added the coaster too!
After I taped the end of my twine, I started to put my beads through in the patter I had chosen. It took me all of 10 minutes to bead everything through. After I reached the end of my string with my beads, leaving a few inches without beads, I tied my second tassel to that end, making sure to tighten all the way to the last bead.
And that was it! My super easy wood bead garland that looks store bought, and it only cost me $12 worth of supplies!
Look at that pattern! Doesn’t that look amazing? I can’t wait to work on some other garlands for holidays. This one would look so good layered.
Check out my social media to see me creating.
See you next time!

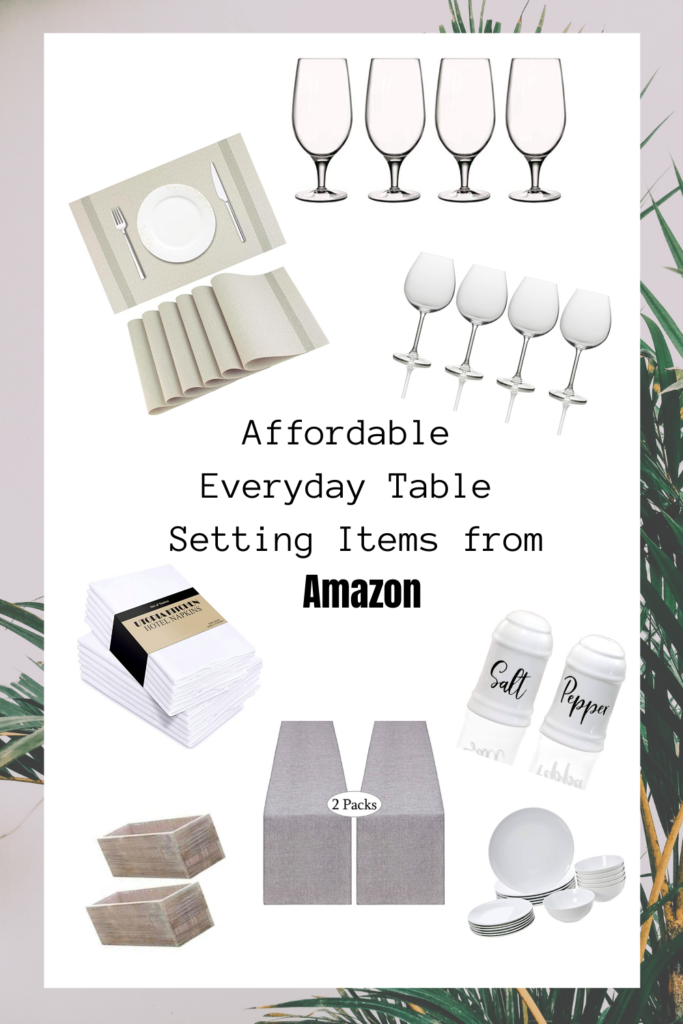
Coming from an event planning background I always like to have my table set. Having your table staged or set with practical items makes the space more inviting. Instead of having an empty table and spending 20 to 30 minutes setting up the table when I have dinner guests, I stage it with my everyday items that I would use anyway. Of course my table changes with the seasons and holidays, but having an everyday setting for the in between months is essential. You don’t want to eat on easter plates during Halloween!
“What if I don’t use the dinner table every night?” Well, we don’t eat at the dinner table most nights. Its only two of us in the house so we use paper plates and sit at the counter every night. That doesn’t take away from having a really pretty table for those unexpected guests. Plus, you don’t want your table looking bare. This is like giving your table a new outfit, making sure it has “clothes” on.
I compiled a list of everyday items that I utilize to stage my table.
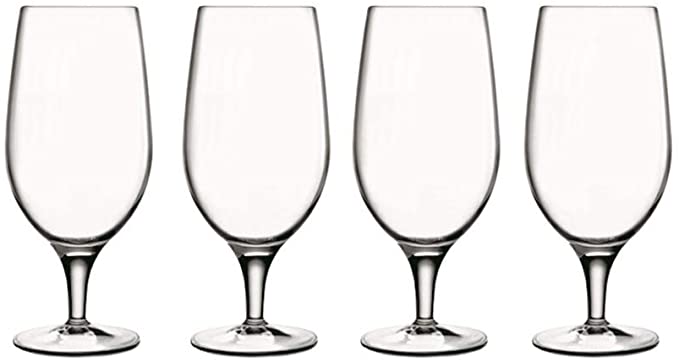
Water Glasses: This is a versatile item, its not just for water. you can use them for soft drinks as well. I use these water glasses at home and at work, they look great and they serve their purpose. Why have water glasses, because you’ll look silly drinking water out of a wine glass or a pint glass. Water glasses are fairly inexpensive and they add a certain sophistication to your table.
Wine Glasses: Mikasa makes great lead-free wine glasses. Why lead-free? because no one wants to put heavy metals into their body. Having classic stemmed wine glasses (without designs or etching) is essential. They’re timeless! They don’t go out of style and they are elegant. I’m not one to say that you shouldn’t get cheap wine wine glasses or stemless glasses, because I have a total of 32 wine glasses at home. I have a lot of friends and they are somewhat careless, so having cheap glasses are great to have as well. I’m just saying, Good quality timeless wine glasses = elegance and sophistication, which is what we’re aiming for here.
Dinnerware: This item is all about preference. I like the look of clean, sleek, timeless and minimalistic. So I went with dinnerware that had no rim. Rims on plates are very outdated, when you go out to trendy new restaurants, you’ll notice that their plated are flat or rimless, thats because its easier to get your food on your flatware. I opted for white, again because it’s timeless and elegant. That doesn’t mean I don’t have dinnerware for all holidays and moods, because I do! This dinnerware set is gorgeous and durable and it will look great on your table.
Flatware: Your flatware is very important, of course it’s a preference thing. The look, the weight, they all are factors when you’re purchasing flatware. Thats why I was hesitant in adding it to the list. I added ones that are similar to my every day flatware set. Yes, I have multiple flatware sets, there’s absolutely nothing wrong with that. These are simple modern and sleek. Personally I like to go to the store and touch them, lift them up and hold them in my hand, but I live extremely far from all the nice stores and amazon has been my best friend.
Placemats: I use placemats or chargers as much as possible. I don’t like the look of table cloths all the time and my dinner table is extremely large where most table cloths won’t fit the way they should. So I use placemats. Like I mentioned before I have family and friends that are rather careless and I don’t want my table to have food everywhere, so I use placemats. These placemats are wonderful, because you can shove them into the dishwasher right after you finish having dinner. We’re all about easy clean up around here! This picture doesn’t do them much justice, but they’re a really nice light grey color that goes well with the neutral color scheme.
Table Runner: OMG table runners. I LOVE TABLE RUNNERS! Why do I love table runners so much? Because they dress up the table beautifully and they add a protective layer down the middle of your table in case you have candles, flowers, or hot casserole dishes. These table runners are very inexpensive, and they’re very lightweight. I love them and use them all the time because they’re so easy to clean and set up. They look great and they’re not overwhelmingly fancy. They make a great base layer for simple decorations.
Cloth Napkins: This is the one item that sets your table aside from any other. Cloth napkins make you feel like you’re at a restaurant, yet they’re so inexpensive to have at home. Cloth napkins are a beautiful way to dress up your table. Napkin folding is an art form that takes a lot of time to master, but there are easy folds that can turn your table into an elegant setting. Most of the time I simply fold my napkins in a trifold and tuck them between my salad plate and dinner plate and it looks beautiful and elegant. These napkins are wonderful and machine washable.
Planter Boxes: I keep a few planter boxes around for easy decorating. Fresh flowers are beautiful and there’s always a few arrangements around my house. But never on the dinner table. I don’t set fresh flowers in my planter boxes because I use them for my everyday table settings. Maintaining fresh flowers on a table is hard work, it take watering, checking for dead flowers and cleaning petals and debris every day. I like the set it and forget it method, set the table and forget it until it’s time to change it again, or use it. So I use these planter boxes, garland and some fillers to make an easy arrangement to dress up the table.

Salt & Pepper Shakers: Oh the salt and pepper shakers, such useful items that are often forgotten. Everyone in all events forget to put down salt and pepper shakers. It has become an ongoing joke to remember the salt and pepper shakers. This is honestly like a finishing touch to a set table. Once the salt and pepper shakers are on the table, it shows the table is finished. Aside from them being the most useful items on the table, having really cute ones helps. Mine are full stainless steel shakers, but I love these so much that I ordered them! you could never have to many salt and pepper shakers.
Using everyday items to stage your table is so easy. I’ve been lucky enough to make this my profession and work everyday with making table setting beautiful. Follow me on Instagram to see more table setting ideas.

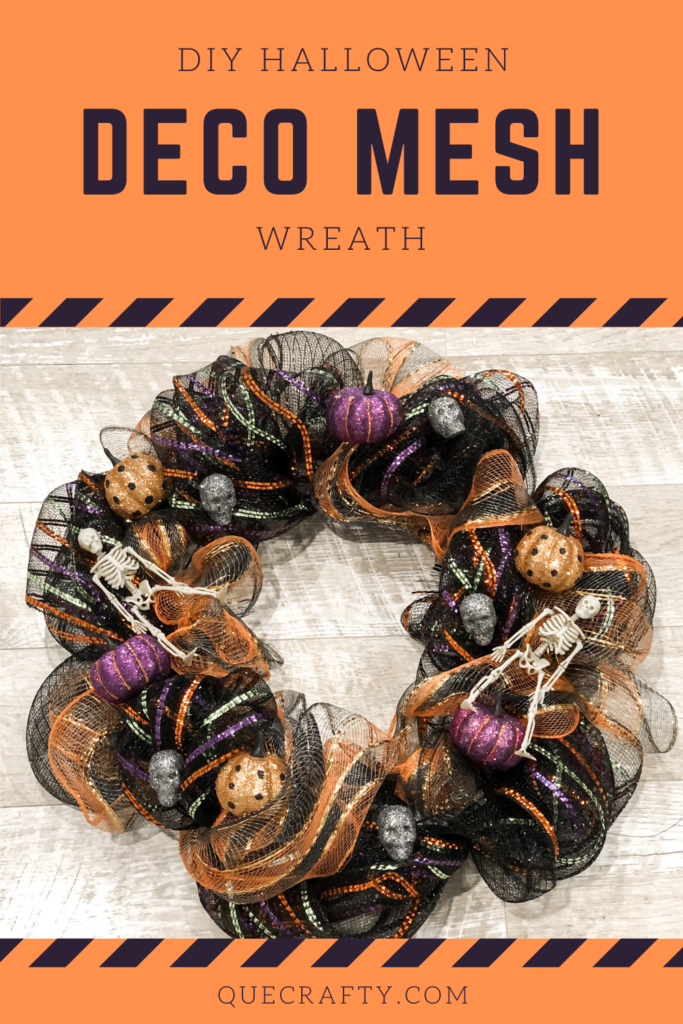
Have you seen all those cool holiday wreaths in stores? I have, and I’m also not willing to pay $60 for something thats going to fall apart at the end of the “season.” I enjoy trying to DIY things that I see in stores, it’s very satisfying when it turns out the way it should. So I decided to try and make my own. I hope you’ll try it too!
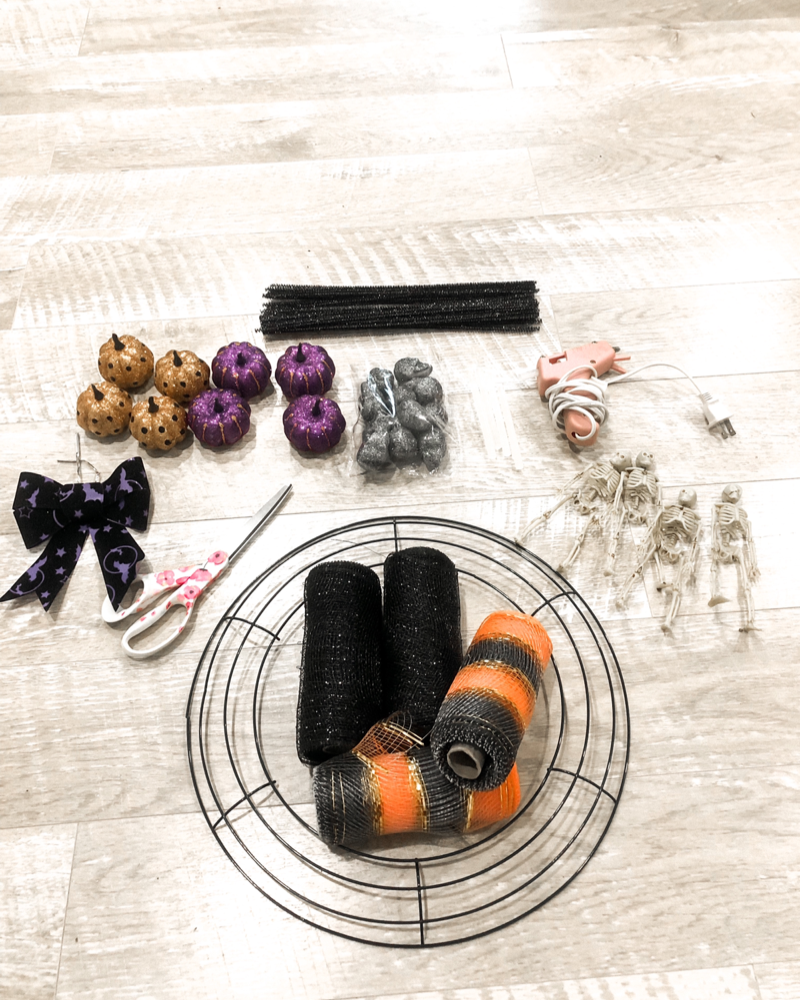
I gathered a few supplies that you’ll need to make your own Deco Mesh Halloween Wreath. It’s really easy and it looks so good.
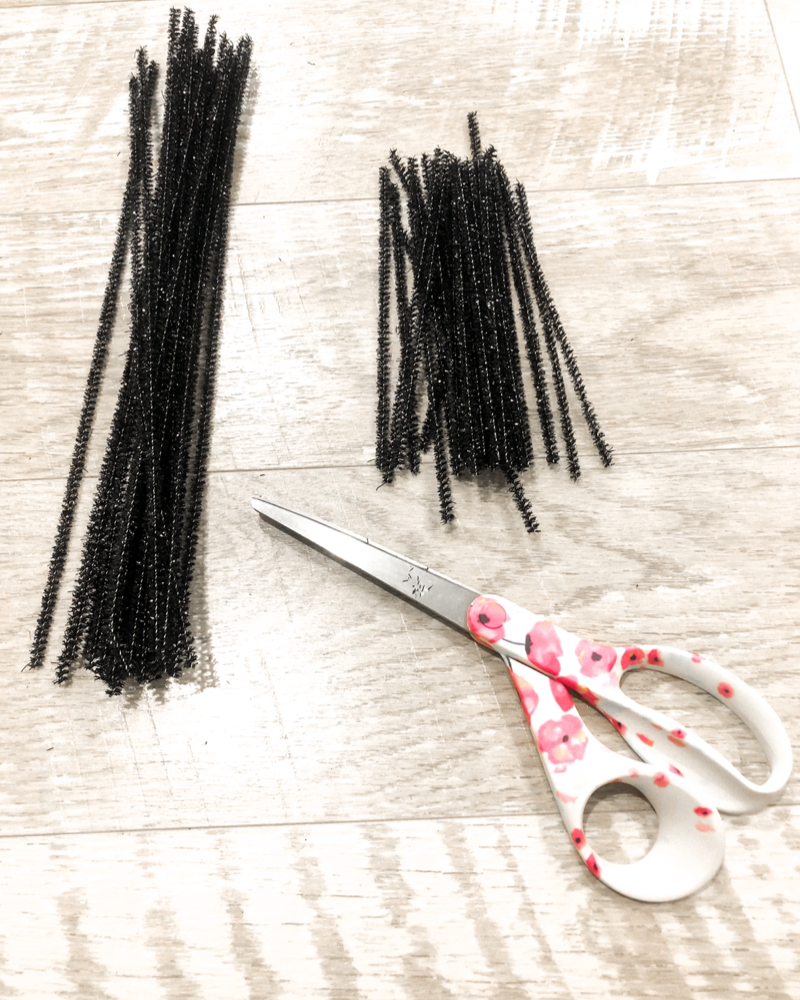
I always have pipe cleaners in my house. They’re so versatile, even with non-craft daily situations.
For this craft, I cut my pipe cleaners in half. You don’t need the full size of pipe cleaner to tie your mesh. And, you just doubled your amount!
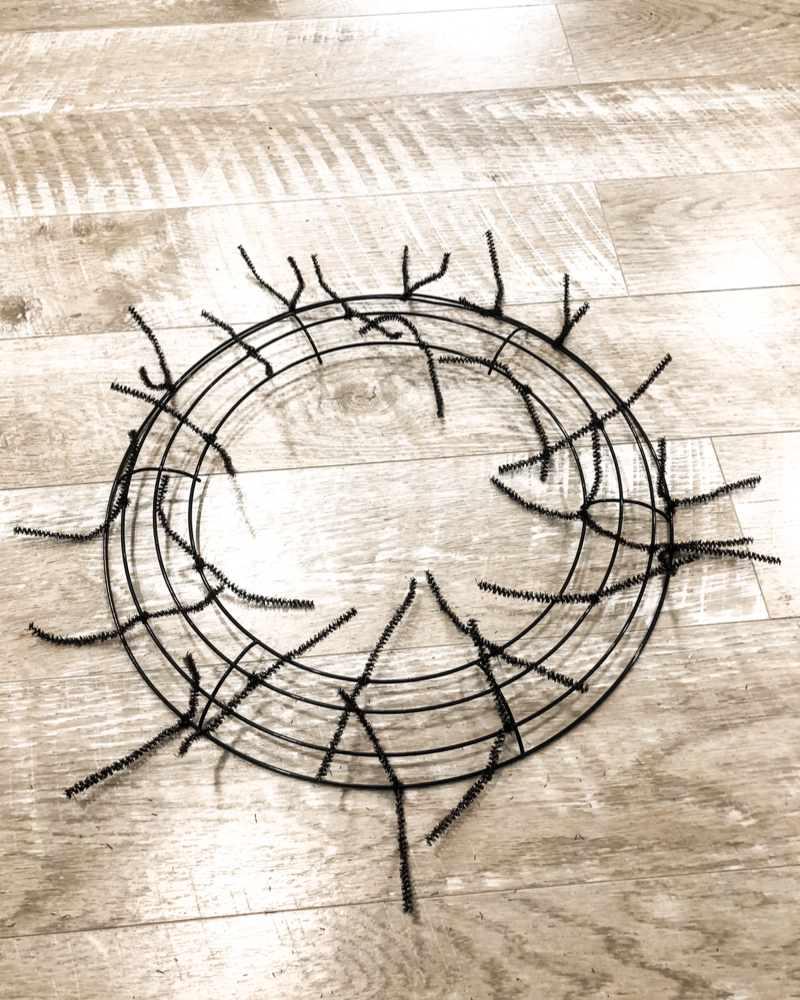
Using your wreath mold, tie your pipe cleaners in a zig zag pattern all the way around.
you will need extra later on, so make sure you have some saved off to the side.
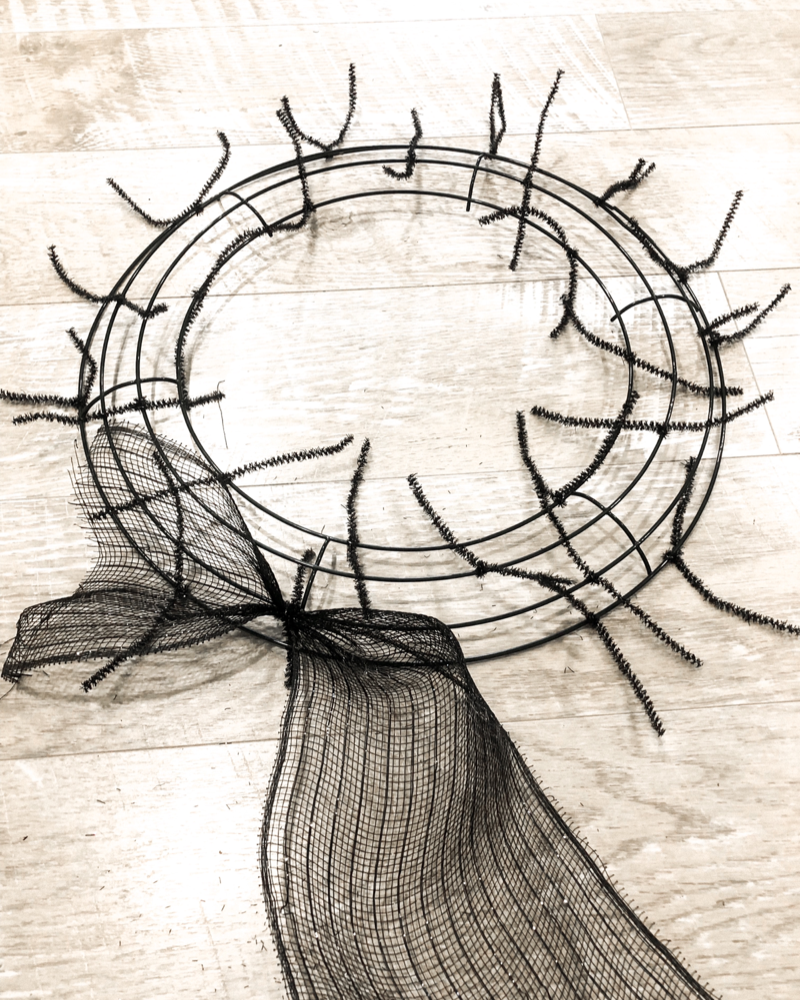
Grab your black deco mesh and pinch about three inches from the beginning of the ribbon.
Tie the pipe cleaner around the area that you pinched.
Continue this process, leaving about 5-6″ in between “pinches.”
I zig zagged the deco mesh around the wreath mold, kipping one or two pipe cleaners in between.
This is how the wreath looked like after one round of deco mesh.
I don’t personally like the mesh I used on this wreath, but I liked a better one in the list above.
The color to me is too light and I would have liked to use something a little wider, like a 12″ mesh.
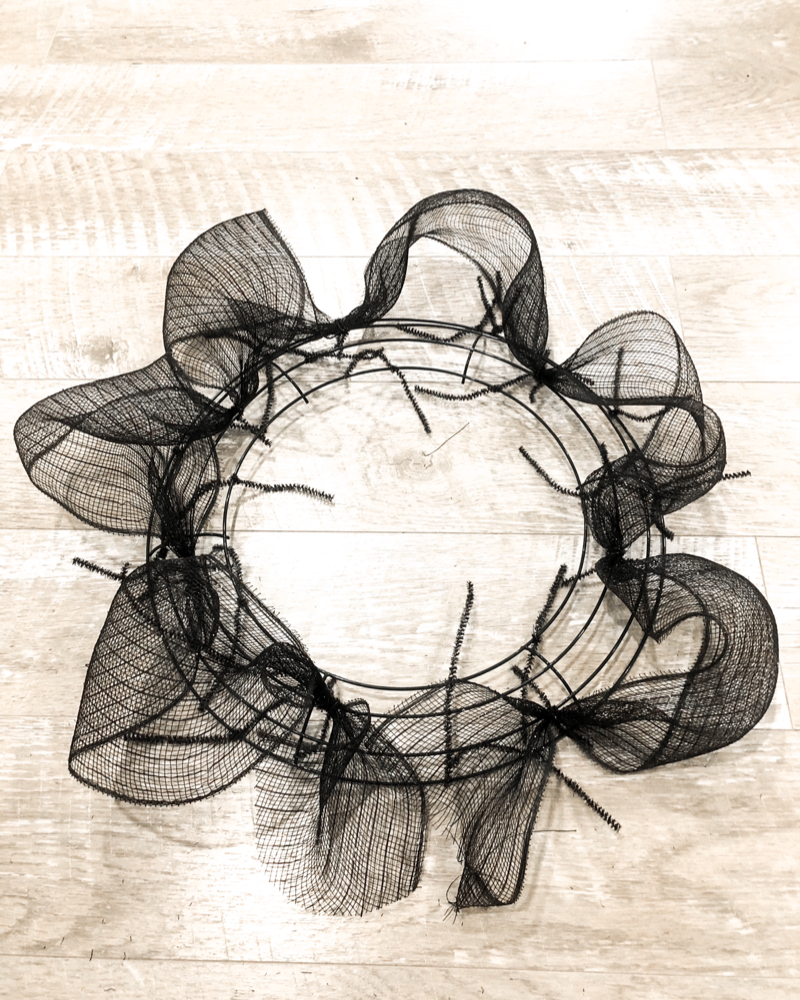
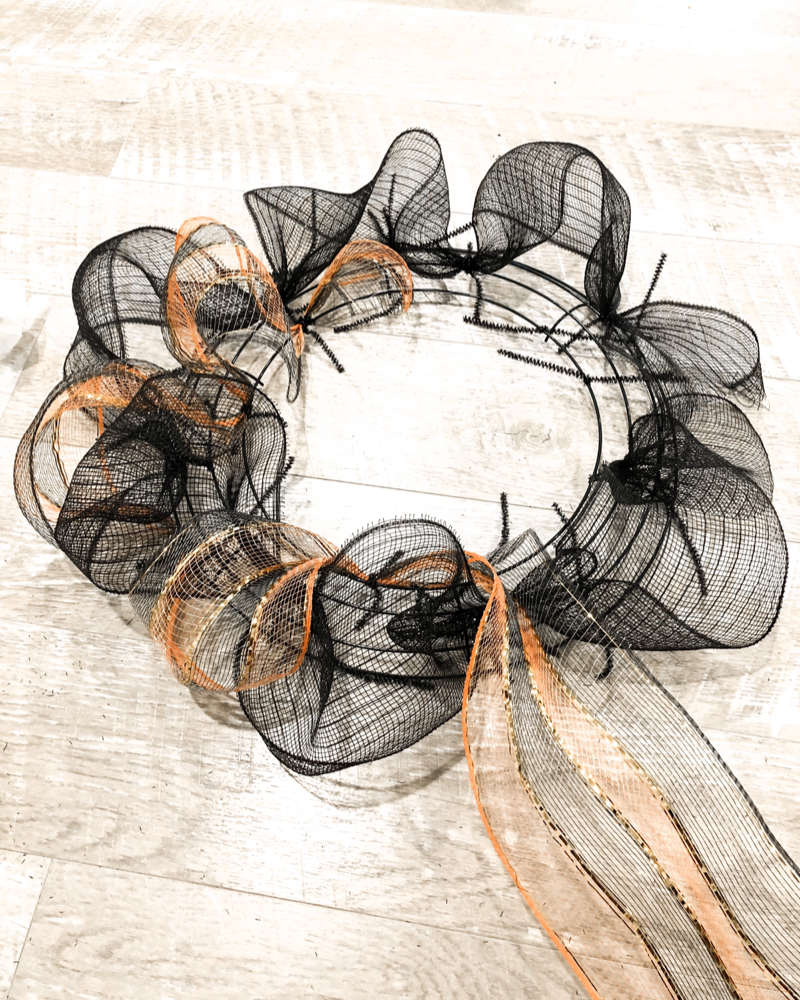
Once you have finished withe the black deco mesh, start the same process with your orange mesh.
Make sure that you’re filling in the empty areas.
As you can see my orange deco mesh is just as light as my black deco mesh. I had to come back with a thicker better quality multicolor mesh to finish off the job.
This larger multicolor deco mesh is a little bit more challenging to use, but it gives you the best results.
I really loved the orange and black ones, but it just wasn’t giving me all the coverage and fluff that I was looking for.
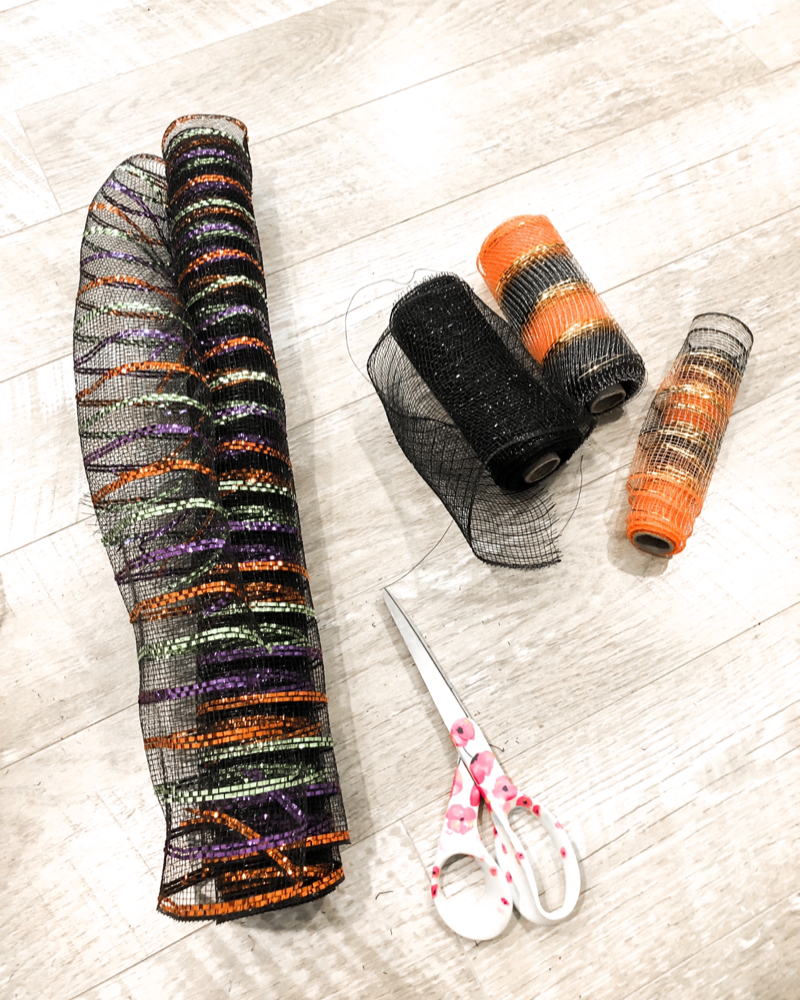
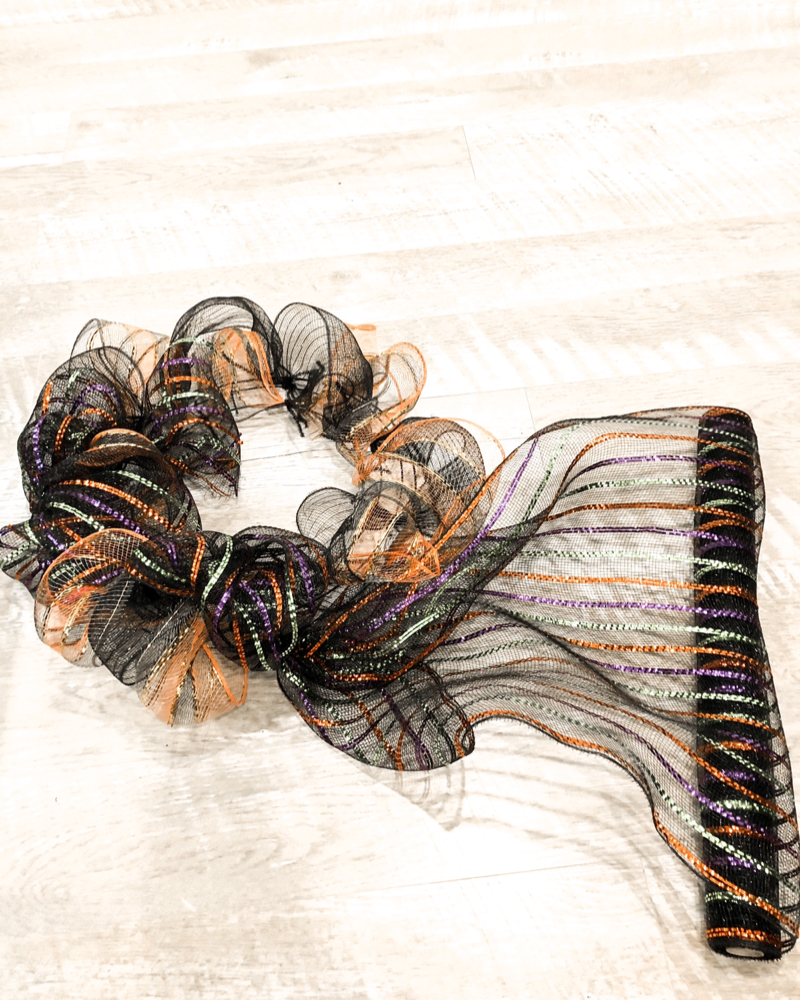
As you can see, the multicolor deco mesh has really filled everything in and made it less transparent to where you can’t see the wreath form.
Lesson learned for the next one!
You are going to need your spare pipe cleaners for this step.
After adding the layer of multicolor deco mesh, this is what my wreath looked like.
It is really fluffy and looks amazon!
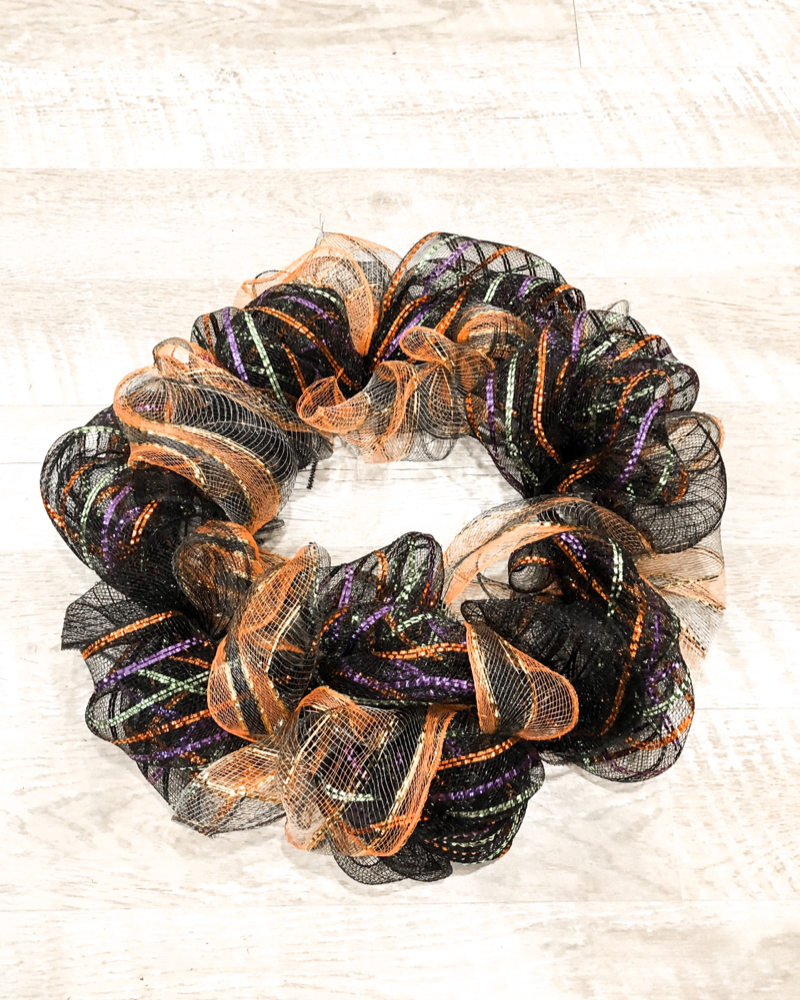
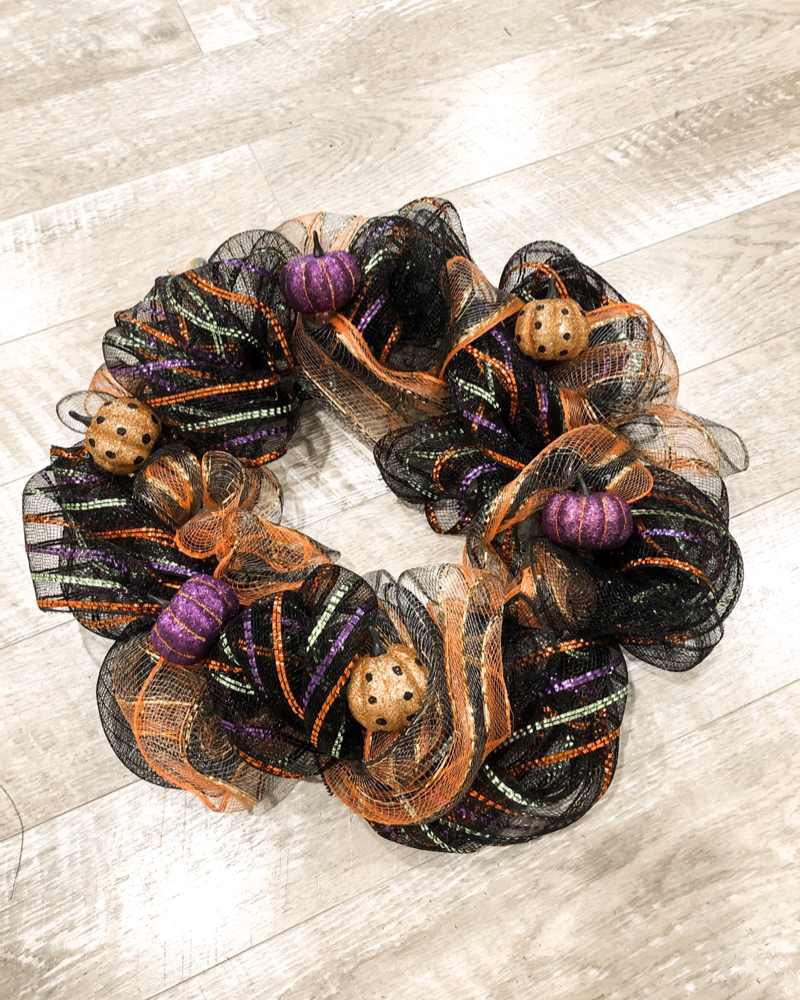
After I finished the mesh part of my wreath, I moved on to decorating.
I whipped out my hot glue gun, poured myself a glass of wine wile it warmed up, and got to work.
I found these really cute glitter pumpkins that I thought would make my wreath look fancy.
After I glued the glitter pumpkins, I found some little skeletons and mini skulls that I added to the wreath.
This gave my wreath a very finished look, like the ones that I saw at the stores.
Isn’t it so cute?!?!?!
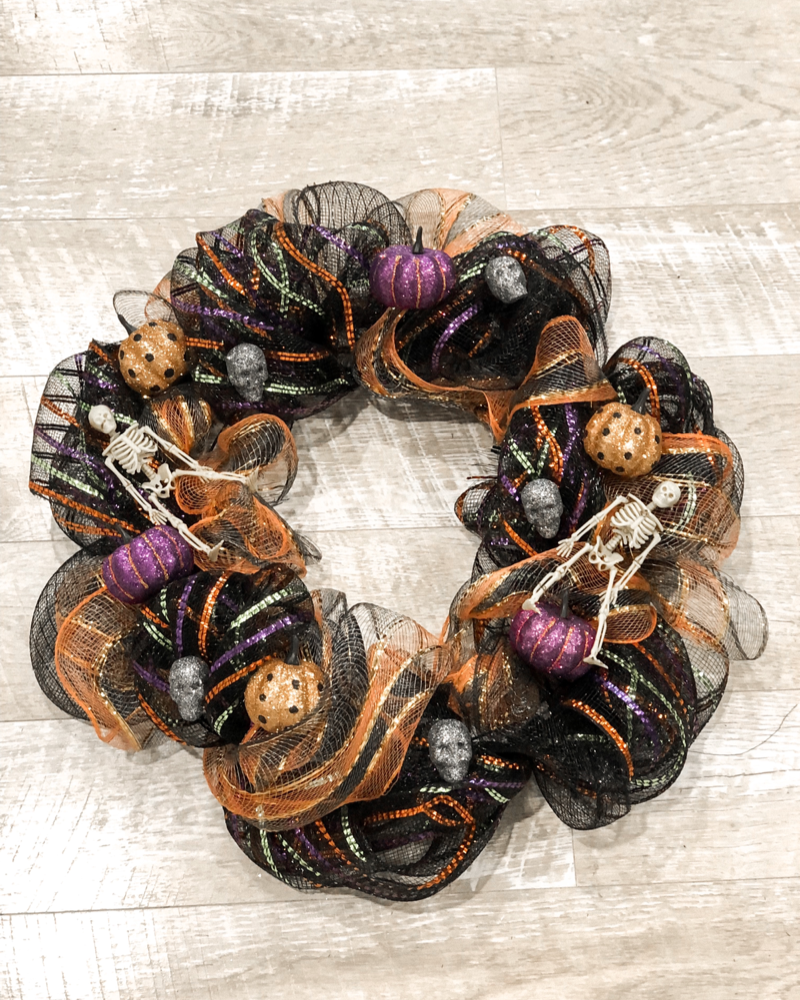
I’m no expert by any means, but I do love crafting and I think this wreath came out pretty darn good. It’s going to go great with all of the halloween decorationsI’m going to be putting up this year.

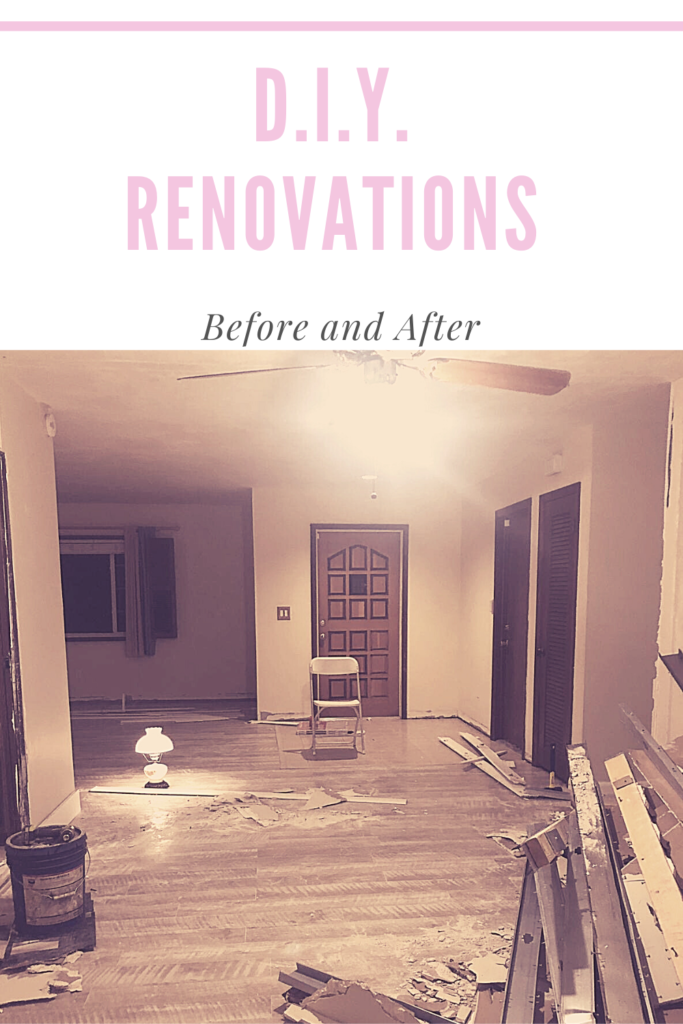
As I mentioned before, home buying and homeownership are very new to me. I didn’t know what the final walk through really meant. In my eyes, this was when we get our house keys and the house is finally ours; thats not what it was at all.
The final walkthrough is when you walk around and see if everything is how you saw it when you put in the offer (from my understanding, this may not be correct). Again, Thats not how I saw it. I saw it as “OMG they hid so much with their furniture” and “wow there’s so much cleaning I have to do.”
There was no turning back now! The next morning we went in to the title agency office and we signed our lives away. It was so exciting to finally own a home.
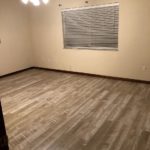
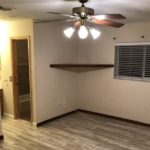
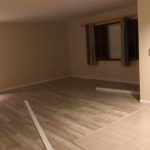

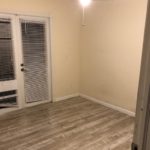
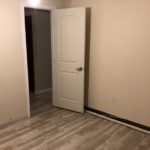
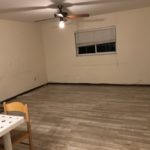
When we got to OUR house for the first time we walked through again. This time analyzing and taking notes of what had to get done in order for us to move in. We have a friend that works in construction, so we called him over to help us out and guide us on certain things.
Our biggest issue was that the flooring didn’t reach the baseboards. We had about an eighth of an inch gap between the flooring and the baseboard, it looked terrible.
We also had an area of the house, which in the 80’s was probably a formal dining room, that was closed off to become a bedroom. This “room” made the house extremely dark because it was blocking the natural light that came in from one set of french doors. Luckily the previous owner had built the enclosure with the current flooring underneath, which made it easy to make the decision of taking the wall down.
We then notice the lighting problem in the house. There was none, the house was lit by ceiling fans in EVERY room, even the kitchen. THE KITCHEN! Since we had some minor electrical panel issues, we decided to change the lighting issue in the house as well.


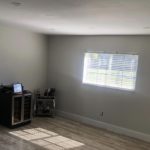
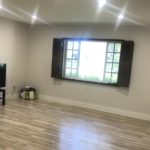


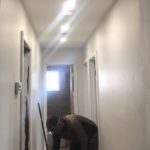
The next day we went right into it and started removing baseboard and door moldings. The “construction” had started and there was no turning back. We had a few days before our baseboards were being delivered so we began painting the interior of the house as well. We changed the interior color from a dark beige to a light grey/white color. It made the house so bright and look so big.
Our baseboards finally arrived and we began cutting and installing. We decided on modern flat baseboards that were 3/4″ by 5,” the thickness of the baseboard helped us hide the fact that the flooring didn’t reach all the way.
We contracted an electrician to install new lighting throughout the house and fix the minor issues in our panel. We ended up installing 43 LED can lights throughout the house. It feels like daylight ALL THE TIME, and I love it.
It took us about a month to get all the little things done ourselves. We were working full time (like 12 hour days) and coming to the house after work. It was a lot, but we finally got most of it done. We didn’t want to move in unless the majority of the projects were finished. Because we’ve both watched HGTV and everyone knows you don’t finish a project you start when you’re living in the house.
We decided to not take on any projects the first year of living in the house. Our main focus was living in the house and buying furniture. Because living in a house furnished like a tailgate was not very attractive.
After the first year, we plan to tackle one major project annually. There are a lot of things we want to change is this house, that felt original to 1980, but one project a year is our plan.
I hope you continue to read and watch as our homeownership circus continues!

I started watching HGTV shows and seeing young people with bizarre jobs buying homes. I said to myself, well I can totally do that. So I began doing some research and learned that it is possible and I was being completely ridiculous and oblivious to the world. So I sat down with my significant other and told him my dreams and wishes of owning a house. He said, LET’S DO IT! So I sat down and I did a whole bunch of calculations, spreadsheets and put us on a budget so that we could reach our dreams of owning a home.
We gave up on our search for a few months; there was nothing worth looking at anymore. But I decided to go onto one of those real estate apps and came across a house that was too good to be true. It was late in the evening, I’m sure our realtor was sleeping, but I sent him the listing anyway. It was a house that was not on the market for another 24 hours, we would be the first people to see it in person if we could get an appointment. Since my realtor was sleeping I decided to email everyone I found tied to the listing and got us four appointments, clearly I had gone crazy or something.
We were the first people to see the house. We fell in love, the house was so nice, there weren’t any closets turned into bathroom, I was in shock! We had other houses we were going to look at that day, but as soon as we reached the next one we told our realtor “nope, we don’t want to see any more houses.” Within the hour we had put in an offer on our dream house.
Fast forward through the heart palpitations and nervous cocktails and we got ourselves a house. We still had no clue what we were doing and everything was moving so fast. Finally when we got our keys and get inside our new house we realized how much furniture hides imperfections. Needless to say our dream home had a lot of updating it needed in order for us to move in.
And that my friend is where our journey in homeownership begins.
