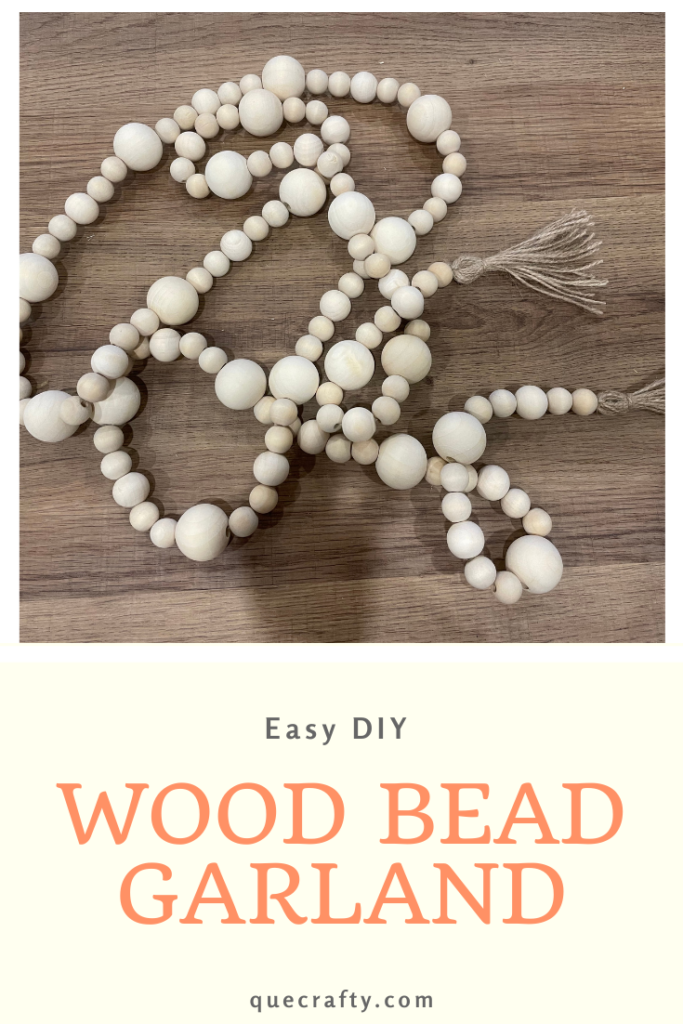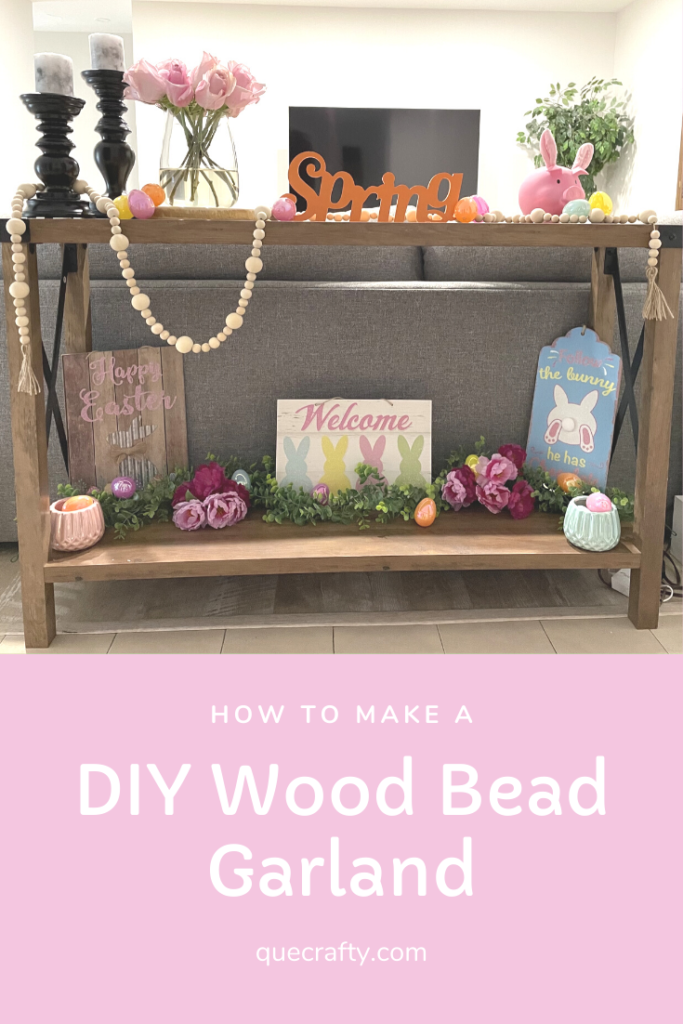
I’ve been seeing these really cool wood bead garlands all over lately. But I also noticed how expensive they are. I wasn’t willing to pay $40 for a wood bead garland. They’re sometimes on sale at Michael’s or Hobby Lobby, but you have to catch it at the right time and they’re still about $20 or $25 each.
I was thinking “OMG they’re so pretty and they will look so good with all my holiday and seasonal decorations.”
So I decided to do a little research on supplies and make one myself!It was super easy to make and took me about 20 minutes.
I went straight to Amazon, because we all know thats the best place to shop, and I started gathering my supplies. I knew I wanted the garland to have different sized beads so I went on my search.
I chose 30mm, 20mm and 16mm beads. I also purchased some jute twine to string my beads.
Of course no craft project comes without unexpected supplies, and thats why you see a tape dispenser in the picture below, but I’ll get into that later in this post.
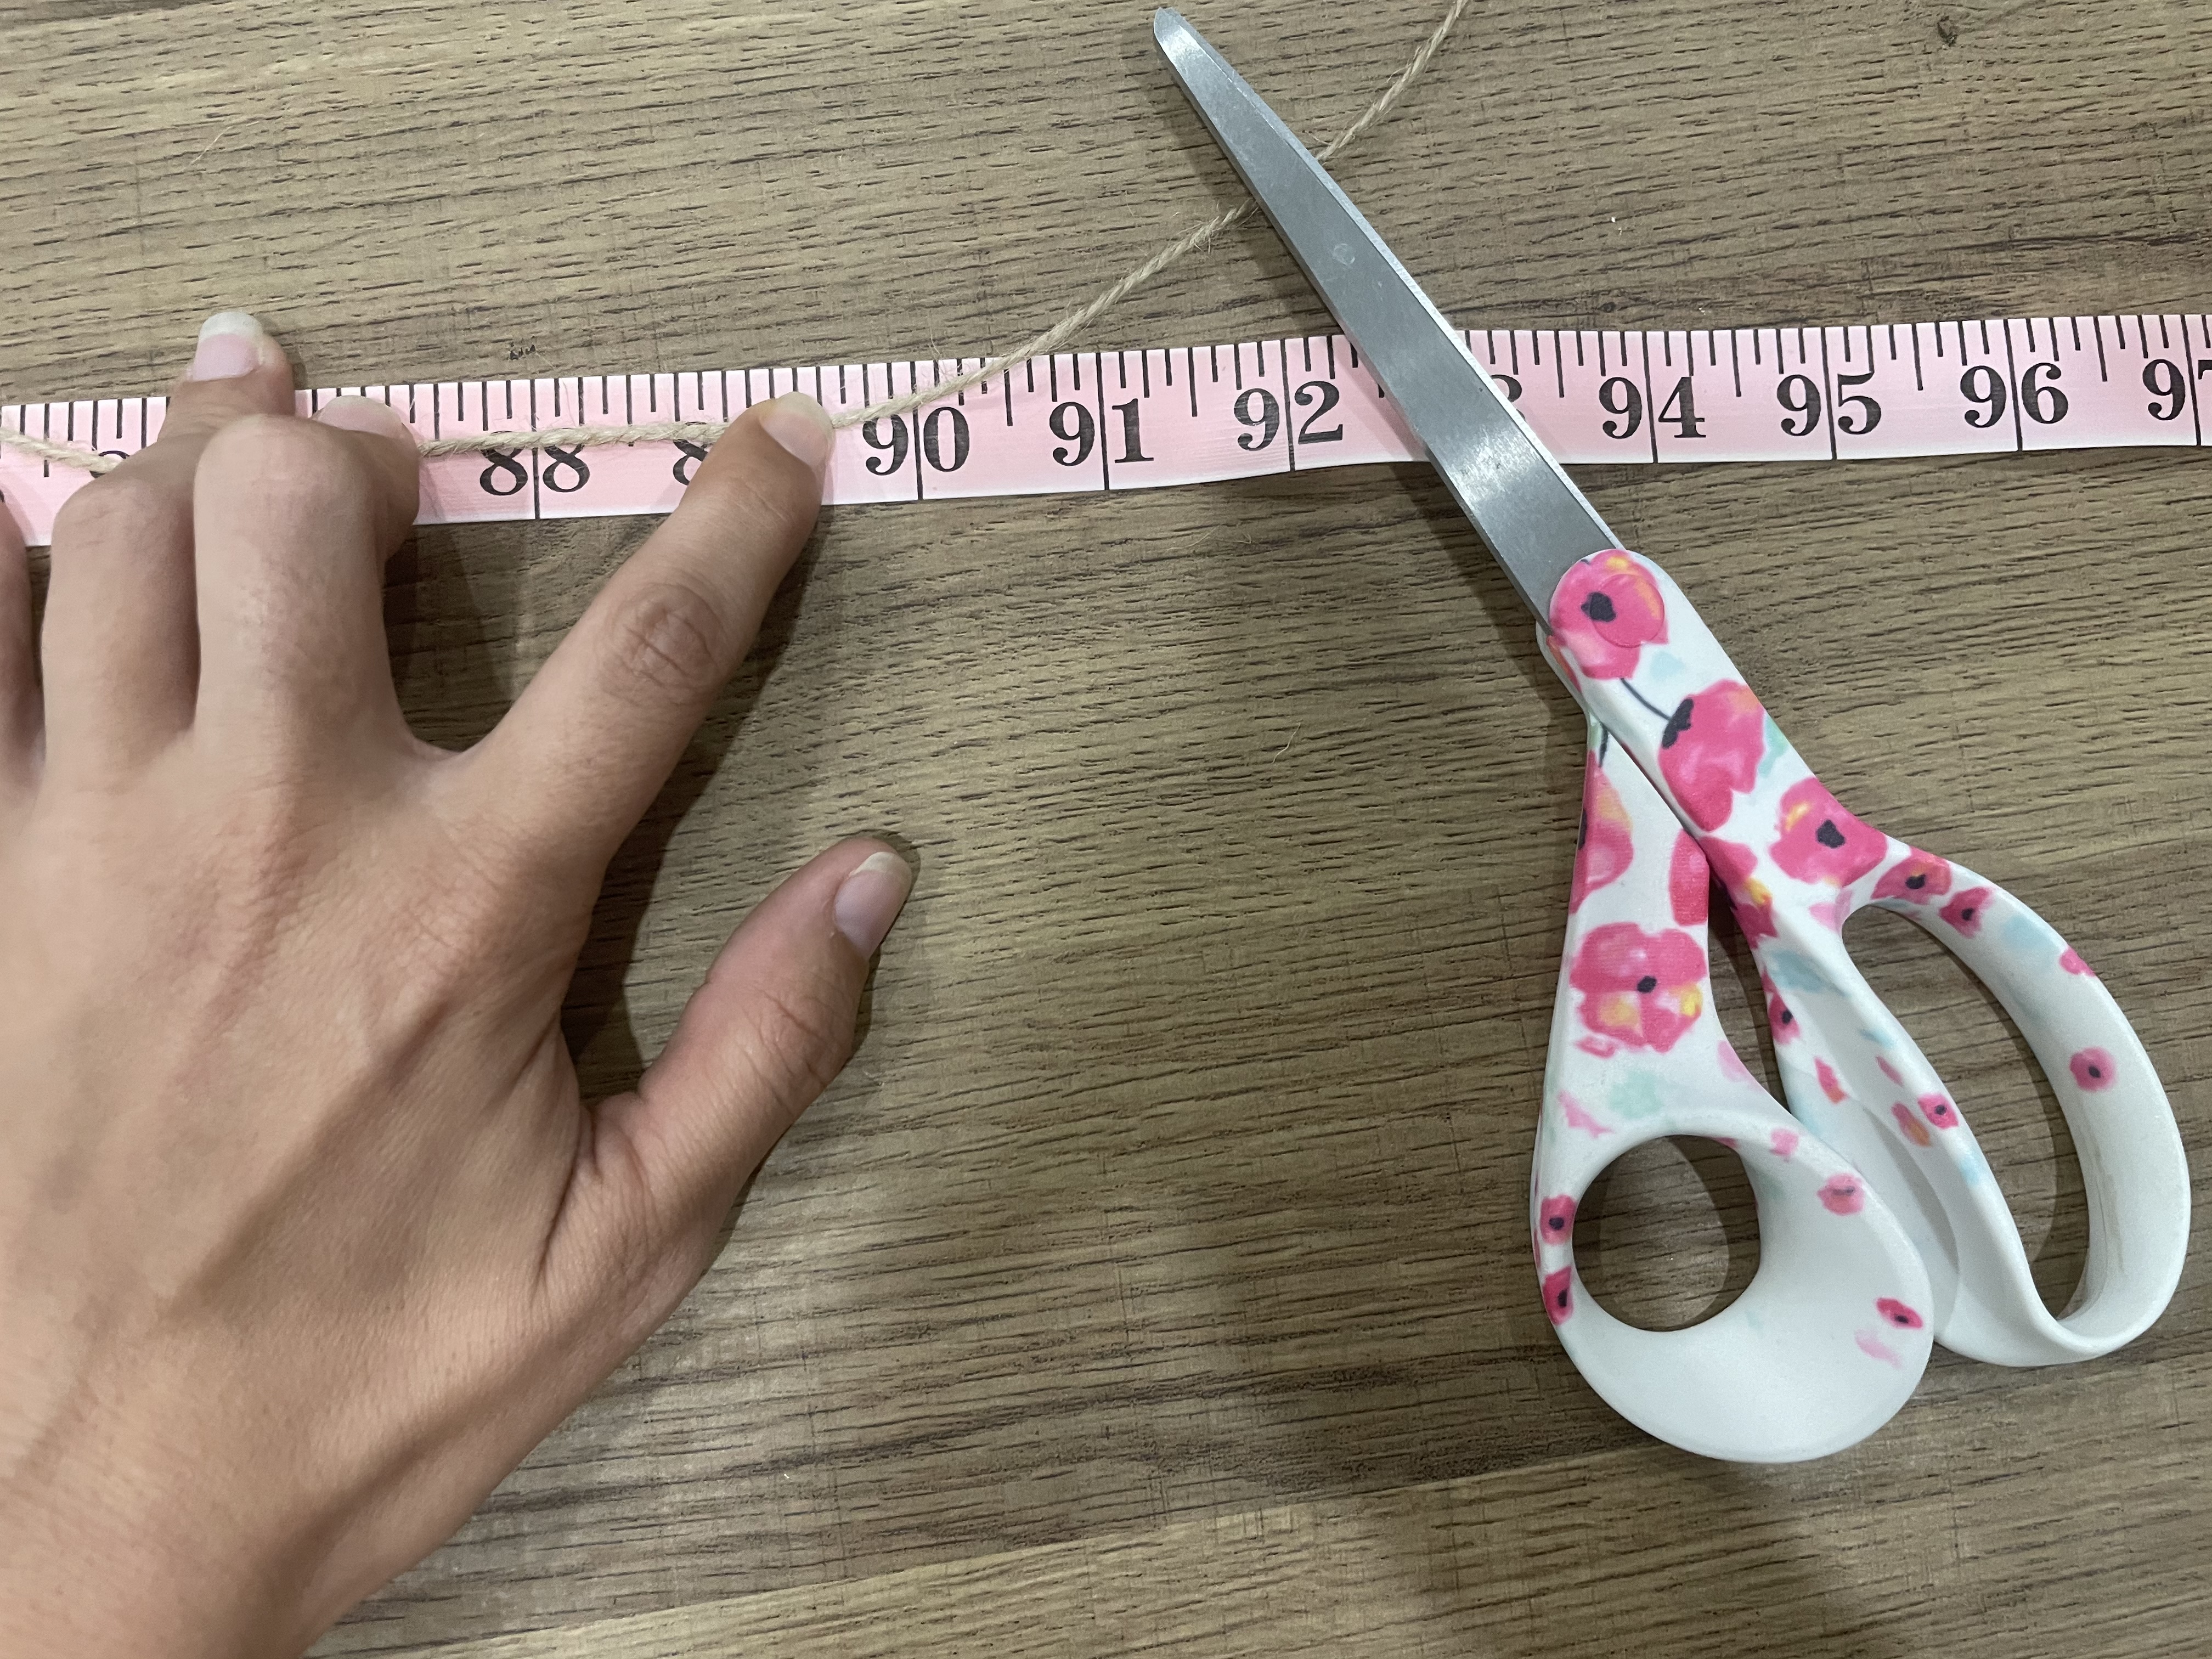
I know I wanted to make a 7ft garland so that I can use it on my console table. So I measured my Jute Twine at 90 inches. That’s a little bit over 7ft, but it gives me room for error.
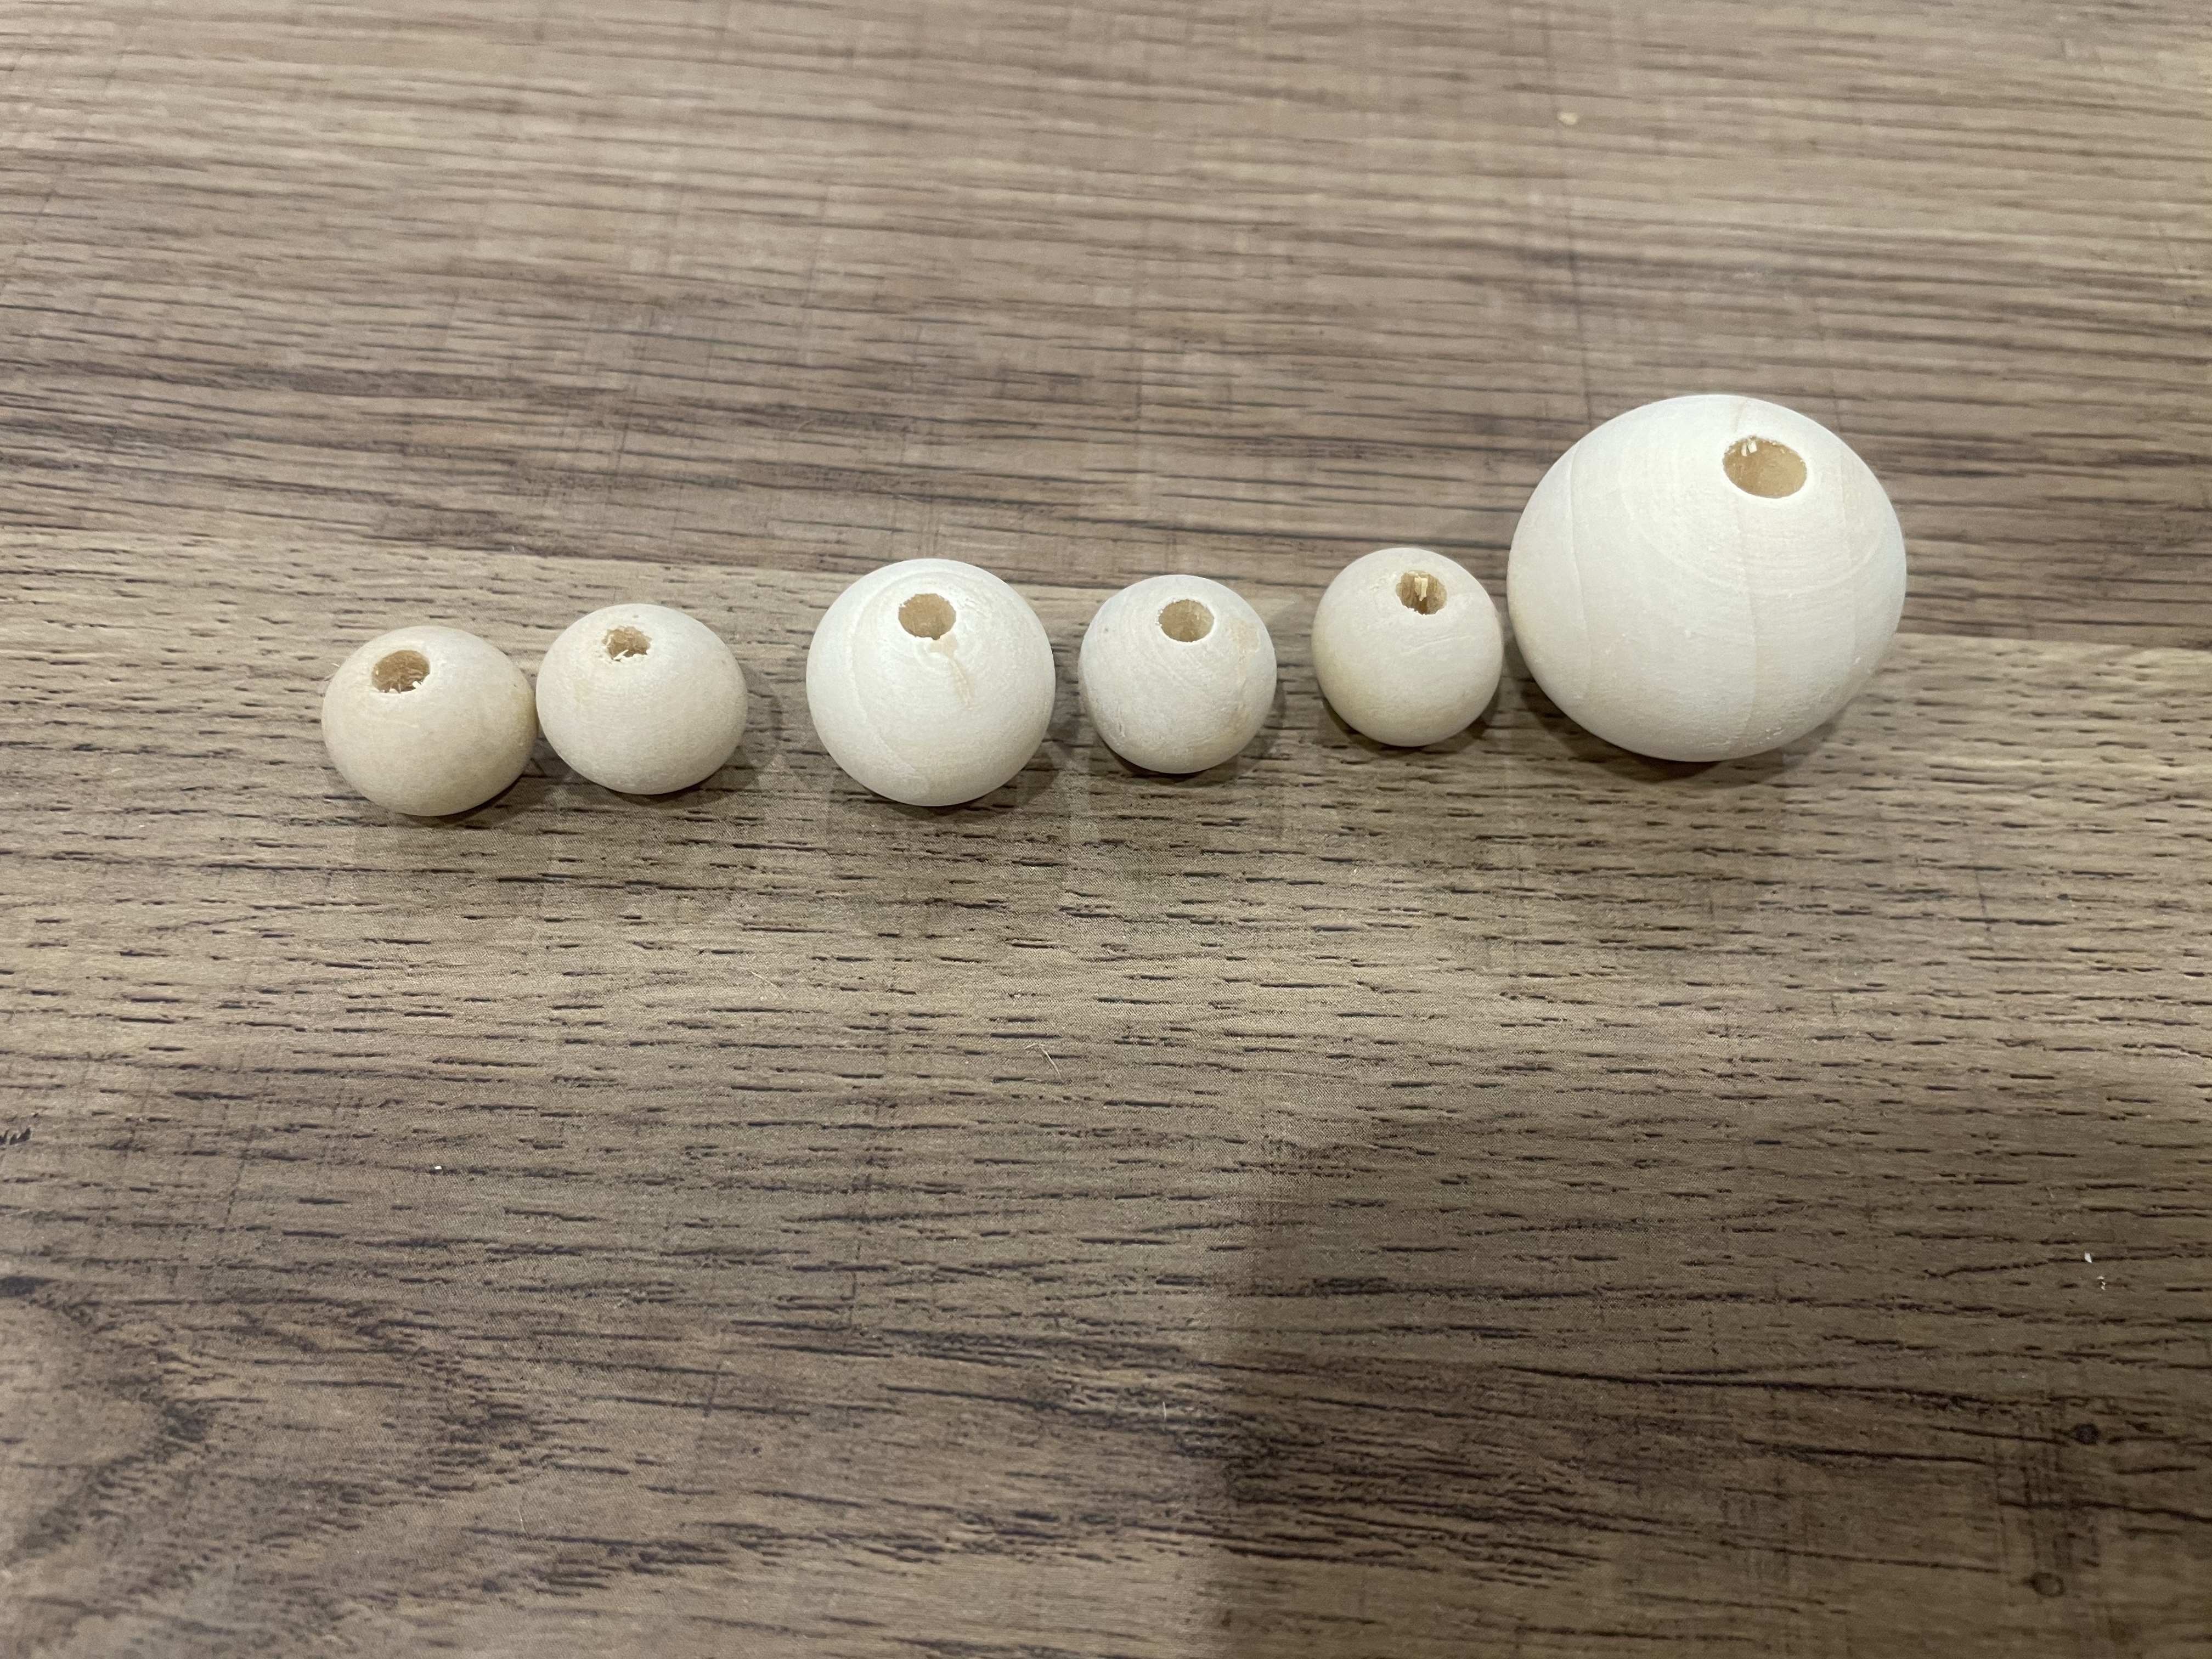
After measuring my twine, I established a pattern that I like. I did two 16mm bead, one 20mm, two 16mm and one 30mm.
This pattern gives the garland different dimension and it makes it looks “professionally made.”
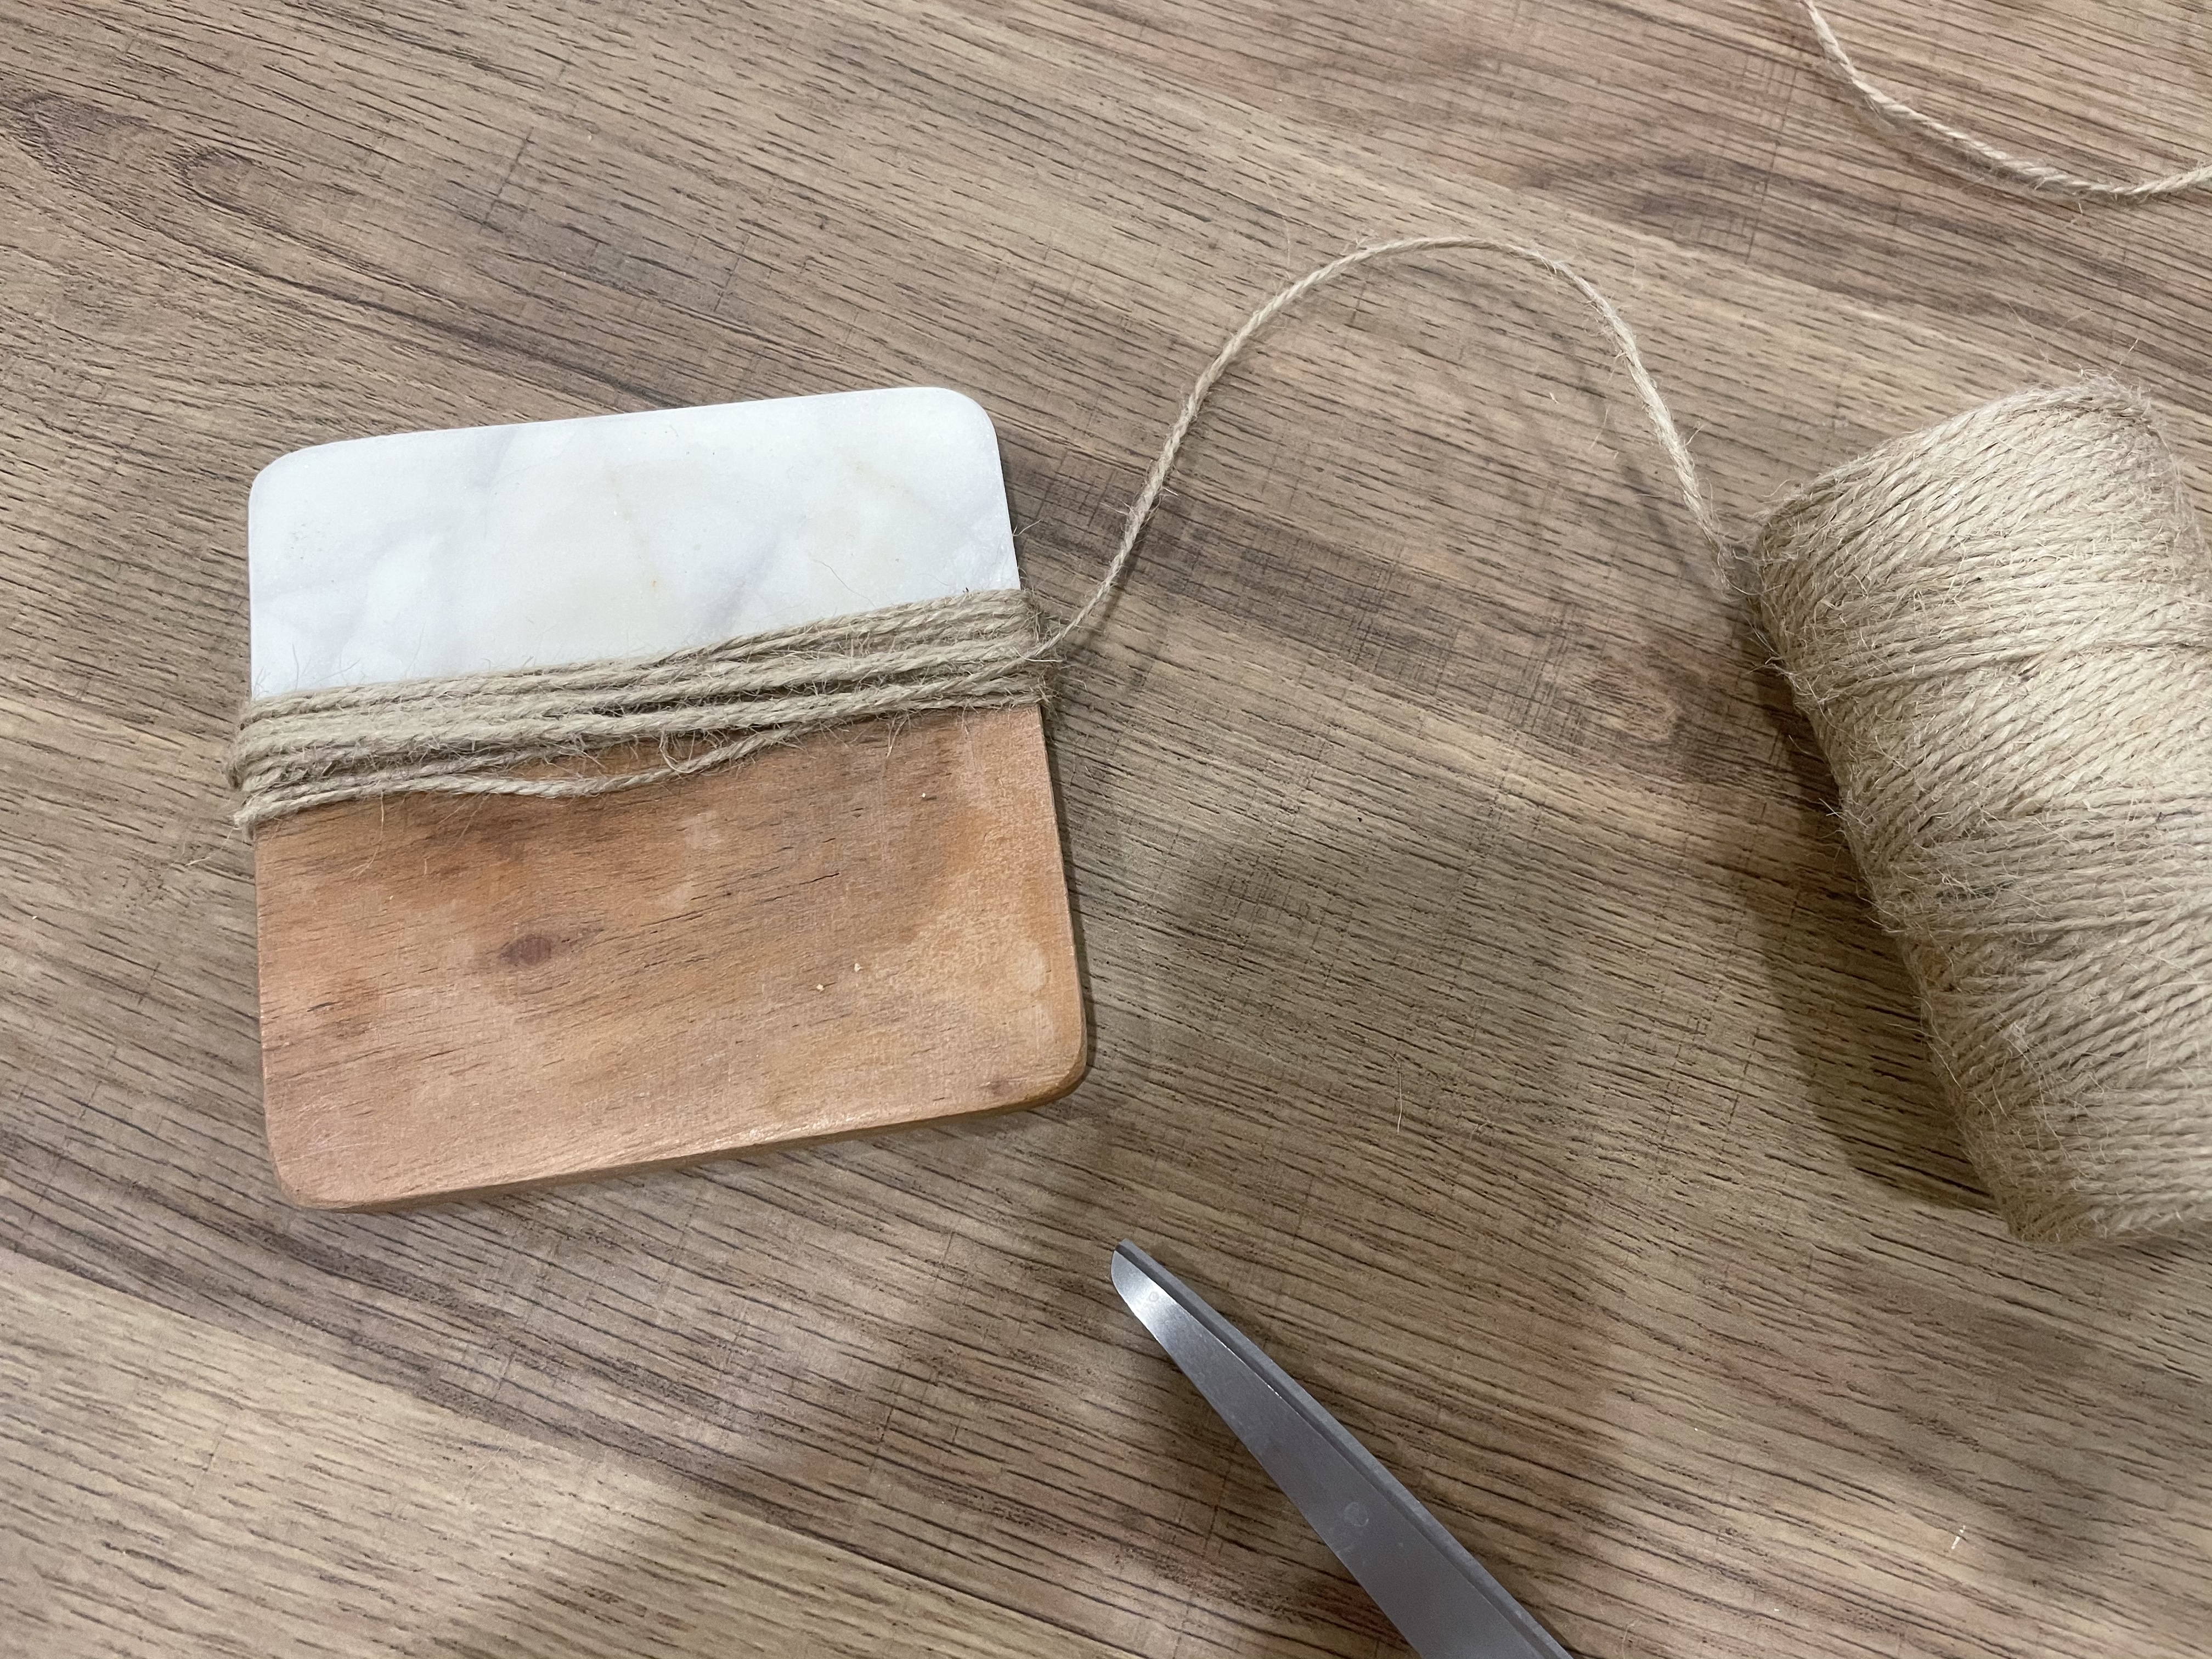
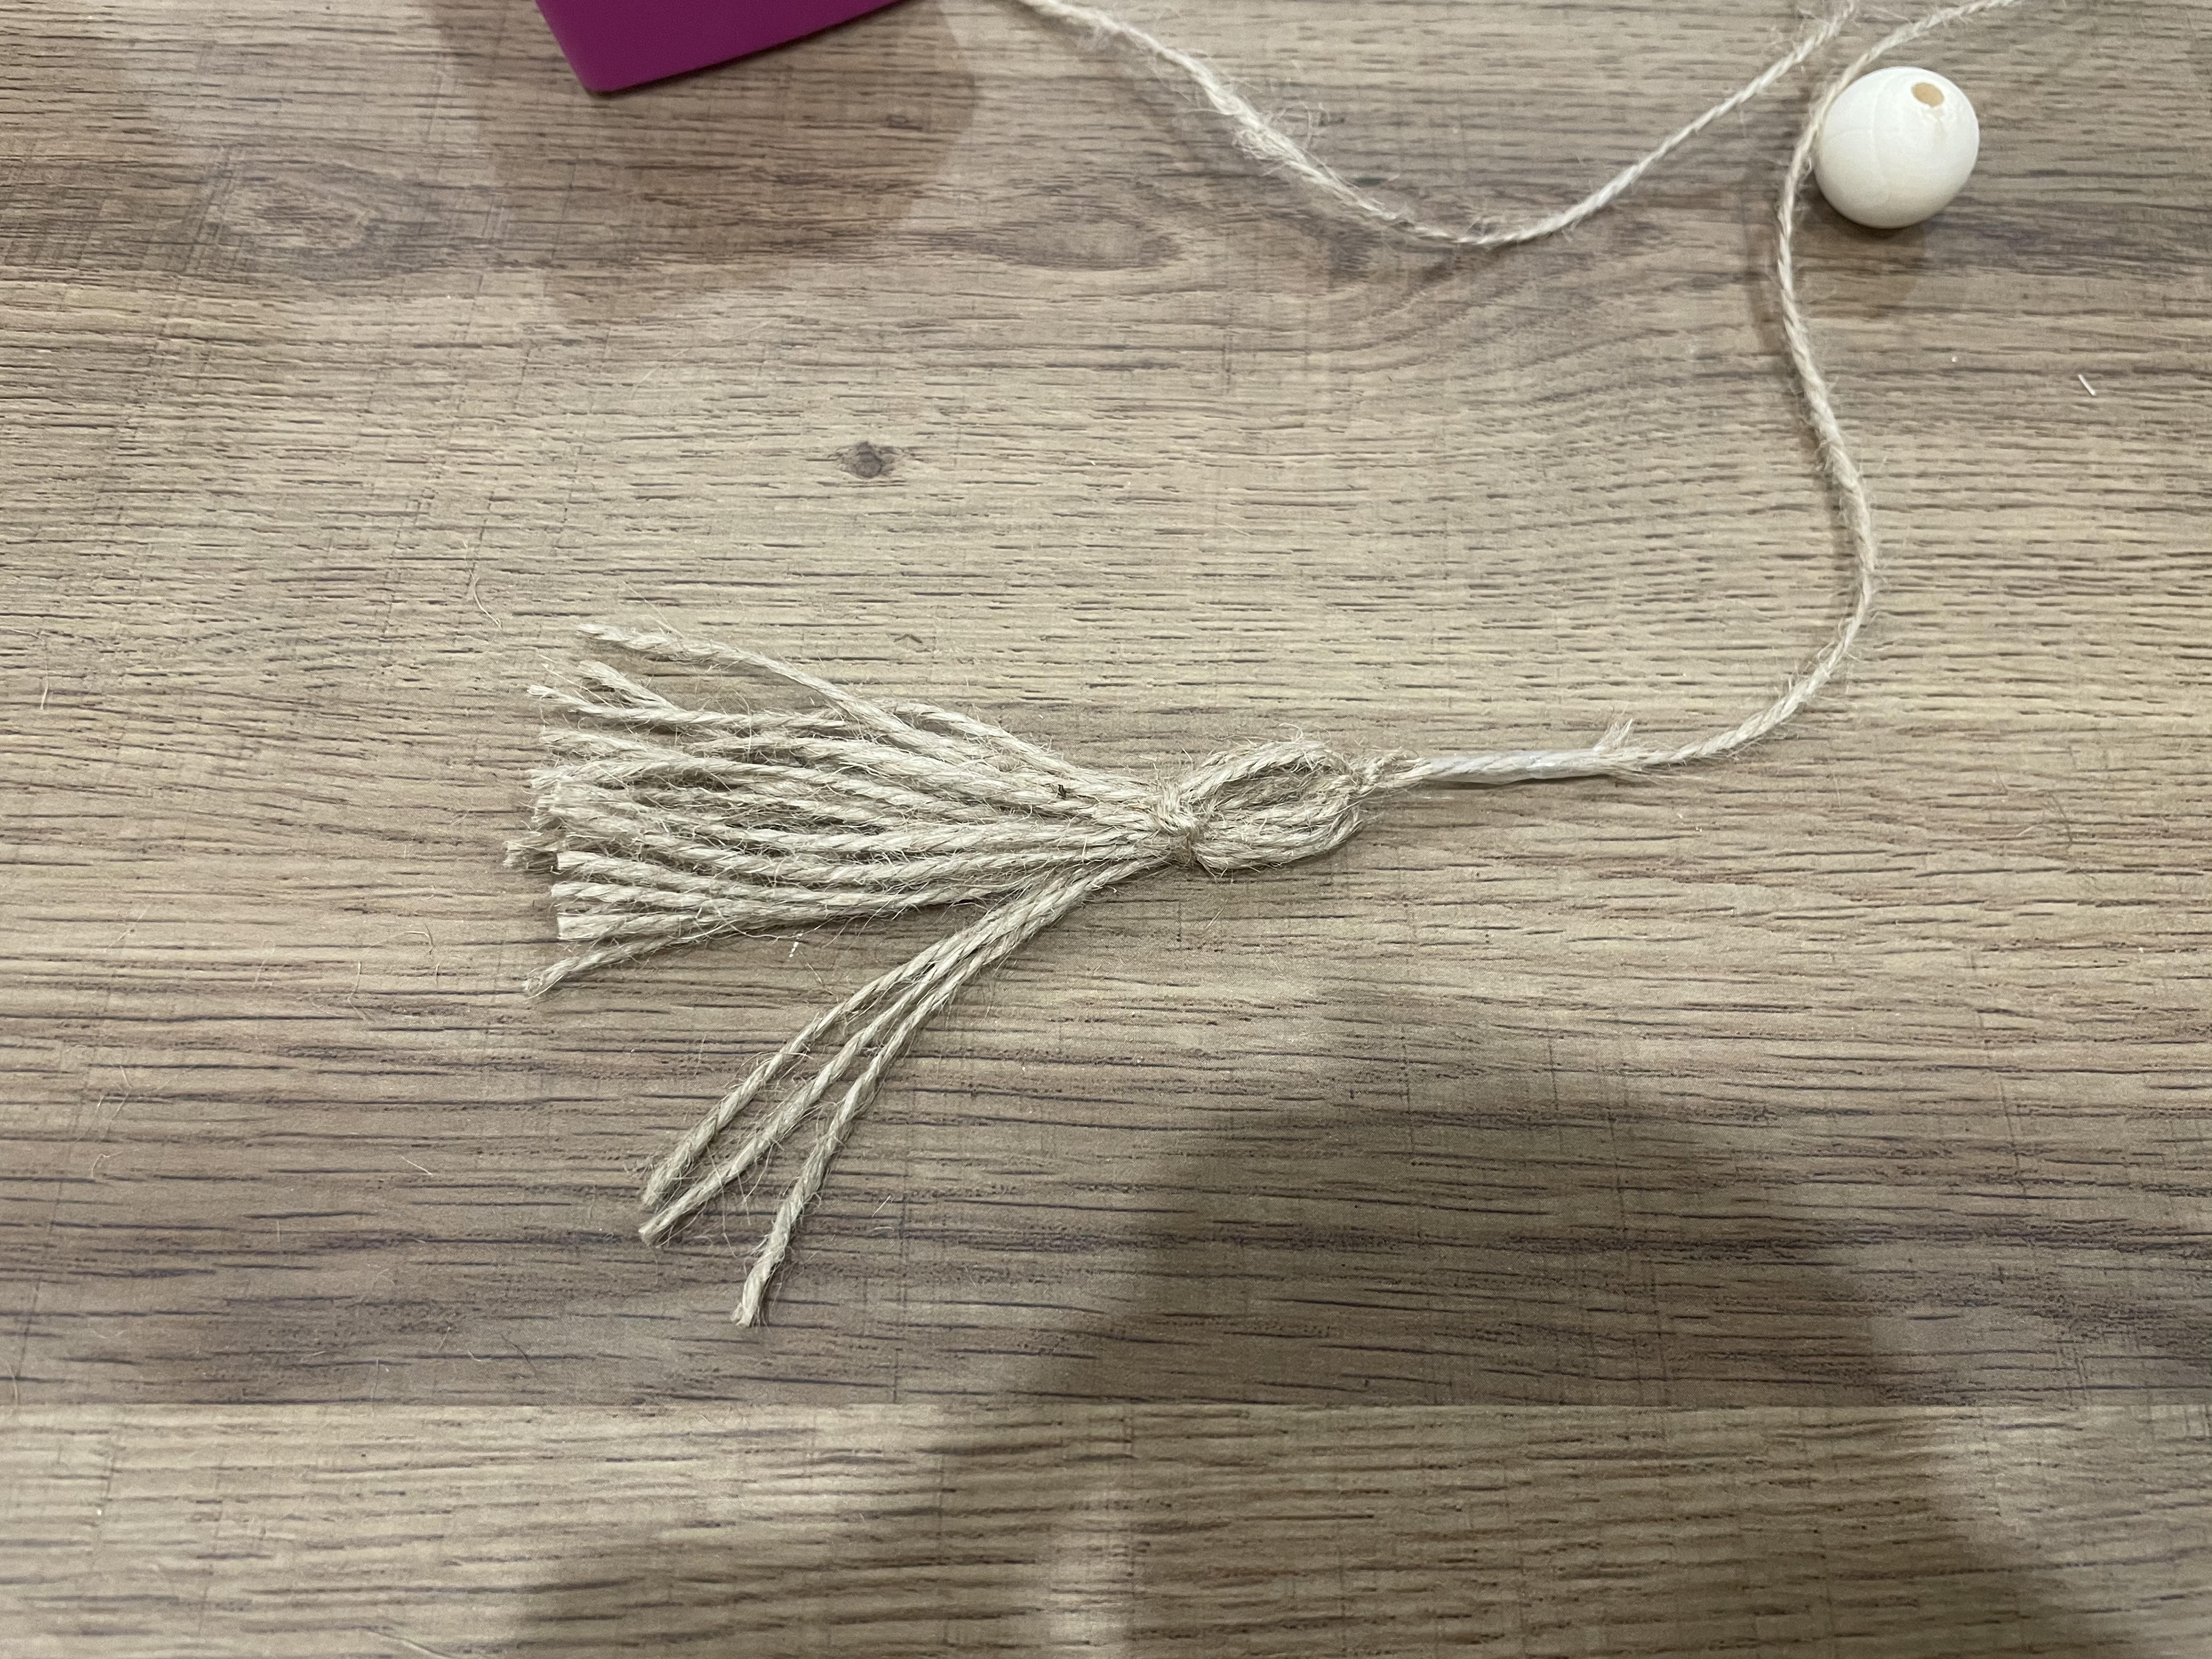
Now that I had my pattern, I went on to make my tassels for the ends of the garland. I grabbed a trusty coaster that I had on my coffee table and wrapped my twine around it about 15 or 20 times. How many times you wrap your twine is up to you, the more your wrap the fluffier your tassel will be. I took my twine loops off of my coaster and cut both looped ends. That left me with a bunch of little strips of twine, I then folded them over to make my tassel shape, I ties a small piece of twine around to make a small head, and voila a tassel.
So to start my garland, I tied one end of the 90 inch piece of string to the head of my tassel. That way my beads wouldn’t fall right out. Then comes the easy part, well after some adjustments it became the easy part.
In order to get my twine through my beads I had to tape the end to make a hard end, like if it was a needle. Thats why my supplies had a tape dispenser, I totally should have added the coaster too!
After I taped the end of my twine, I started to put my beads through in the patter I had chosen. It took me all of 10 minutes to bead everything through. After I reached the end of my string with my beads, leaving a few inches without beads, I tied my second tassel to that end, making sure to tighten all the way to the last bead.
And that was it! My super easy wood bead garland that looks store bought, and it only cost me $12 worth of supplies!
Look at that pattern! Doesn’t that look amazing? I can’t wait to work on some other garlands for holidays. This one would look so good layered.
Check out my social media to see me creating.
See you next time!
